 |  |
Context
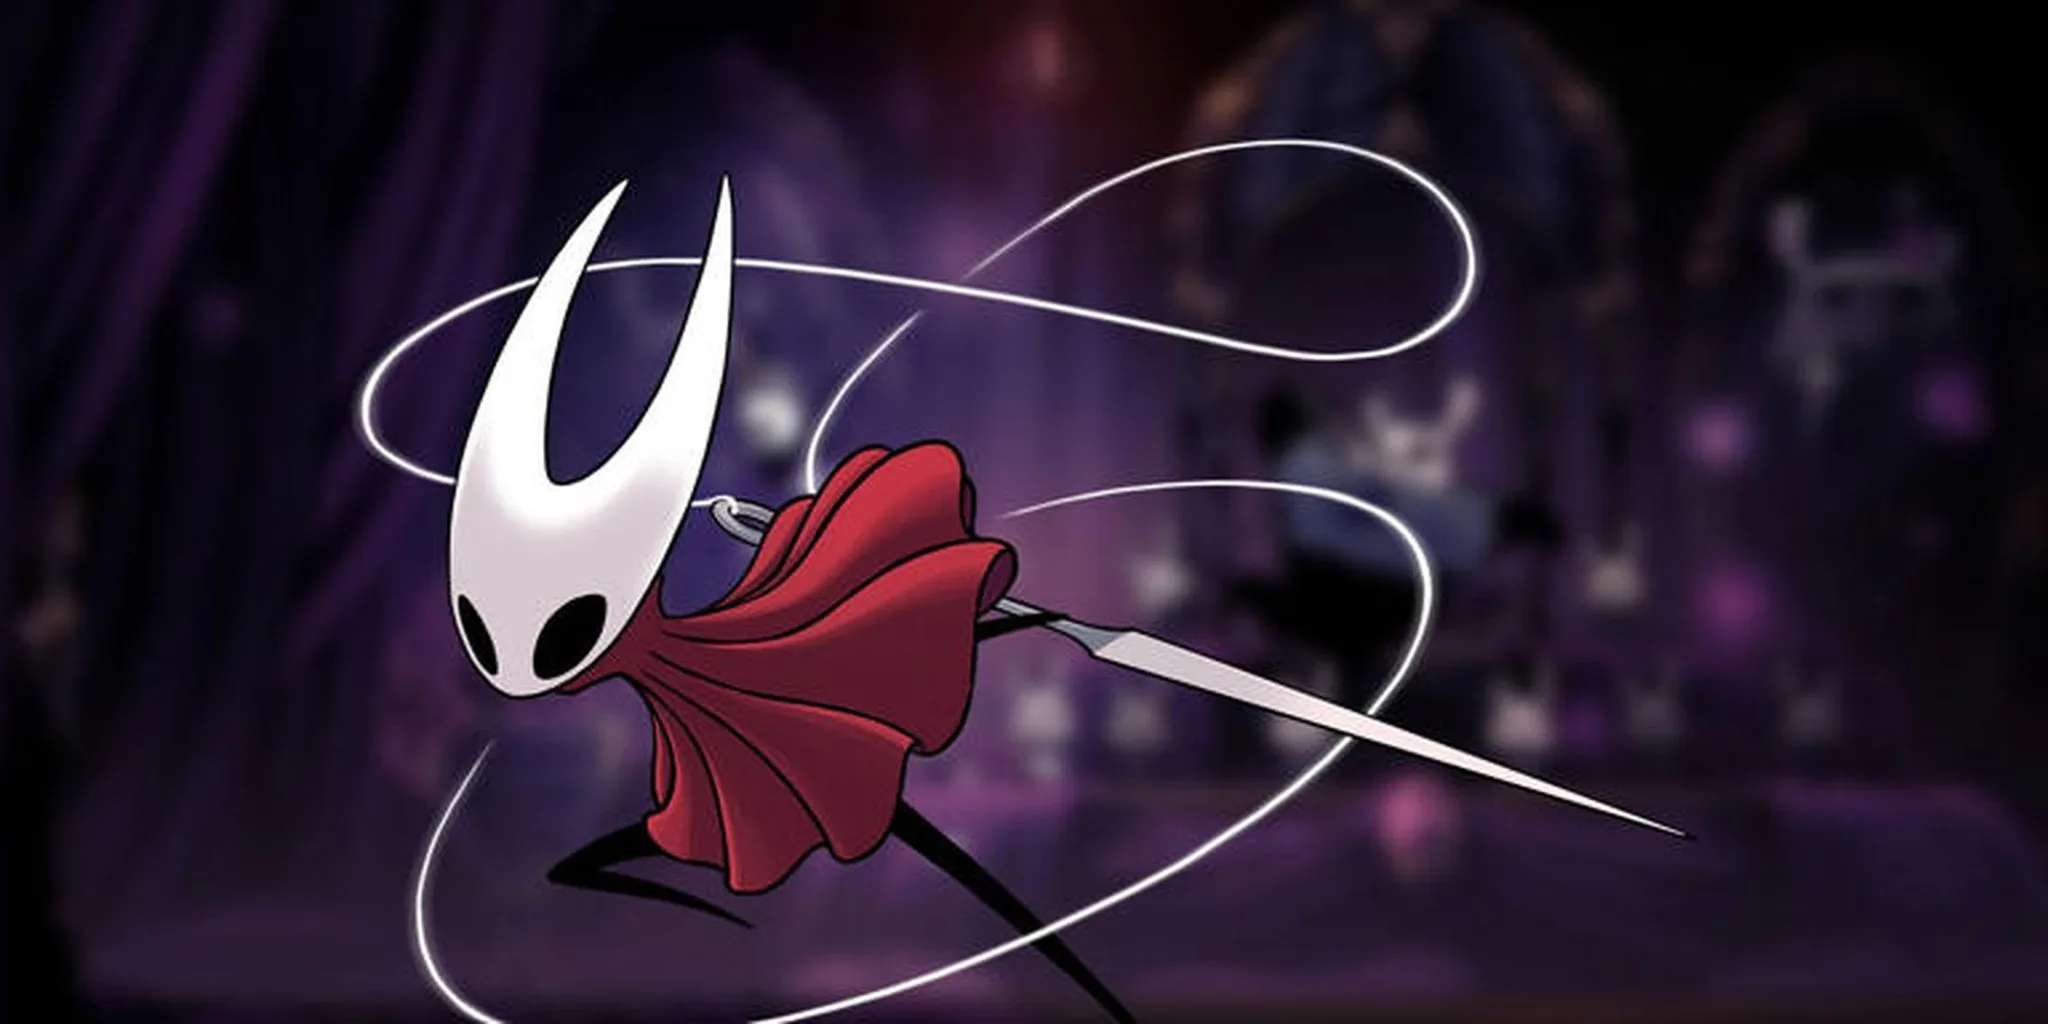
I put it to a vote on Twitter and y'all picked Hornet from Hollow Knight: Silksong. So I complied!
Hornet is a pretty simple silhouette: a white mask with two long horns, a red cloak, and her needle. Simple silhouettes are deceptive though! When there are only three shapes, every one of them has to be right.
The mask
Patterning
The mask is the whole costume, so I started there. I studied the shape from a bunch of angles, then drew myself a pattern and cut it out of EVA foam. EVA foam is the cosplay go-to for exactly this kind of thing. It's cheap, it cuts with a craft knife, it curves when you heat it, and it glues to itself with contact cement. What's not to love!
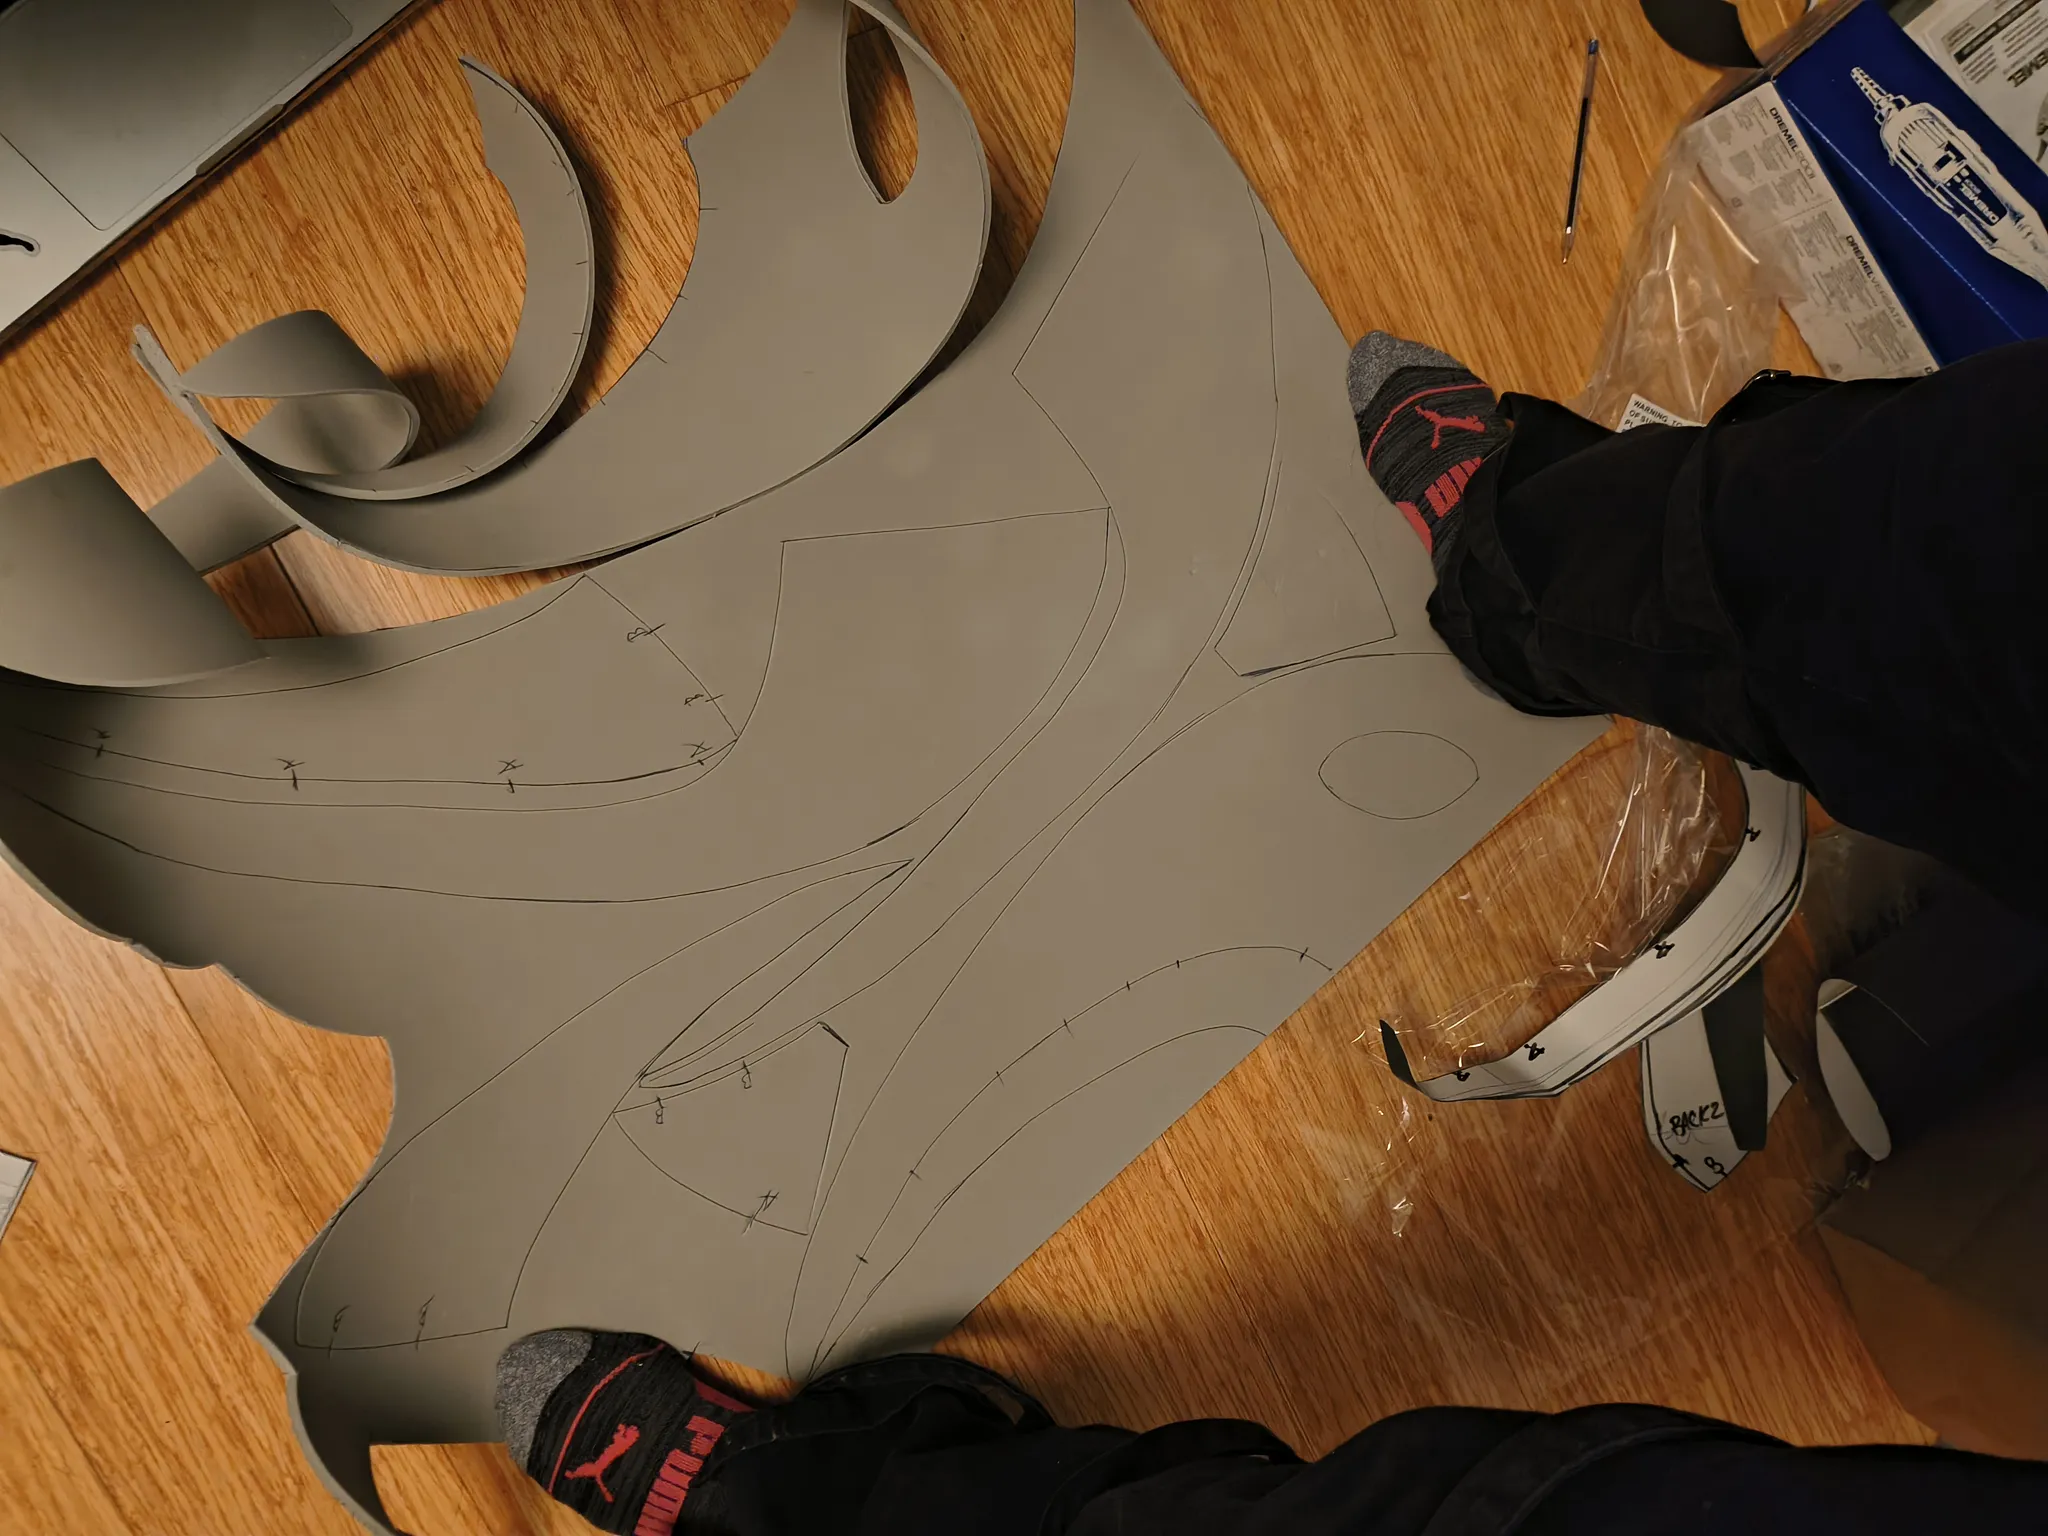
Gluing it up (and messing it up)
I had the whole mask cut out and glued together before I realized the horns were too close together!
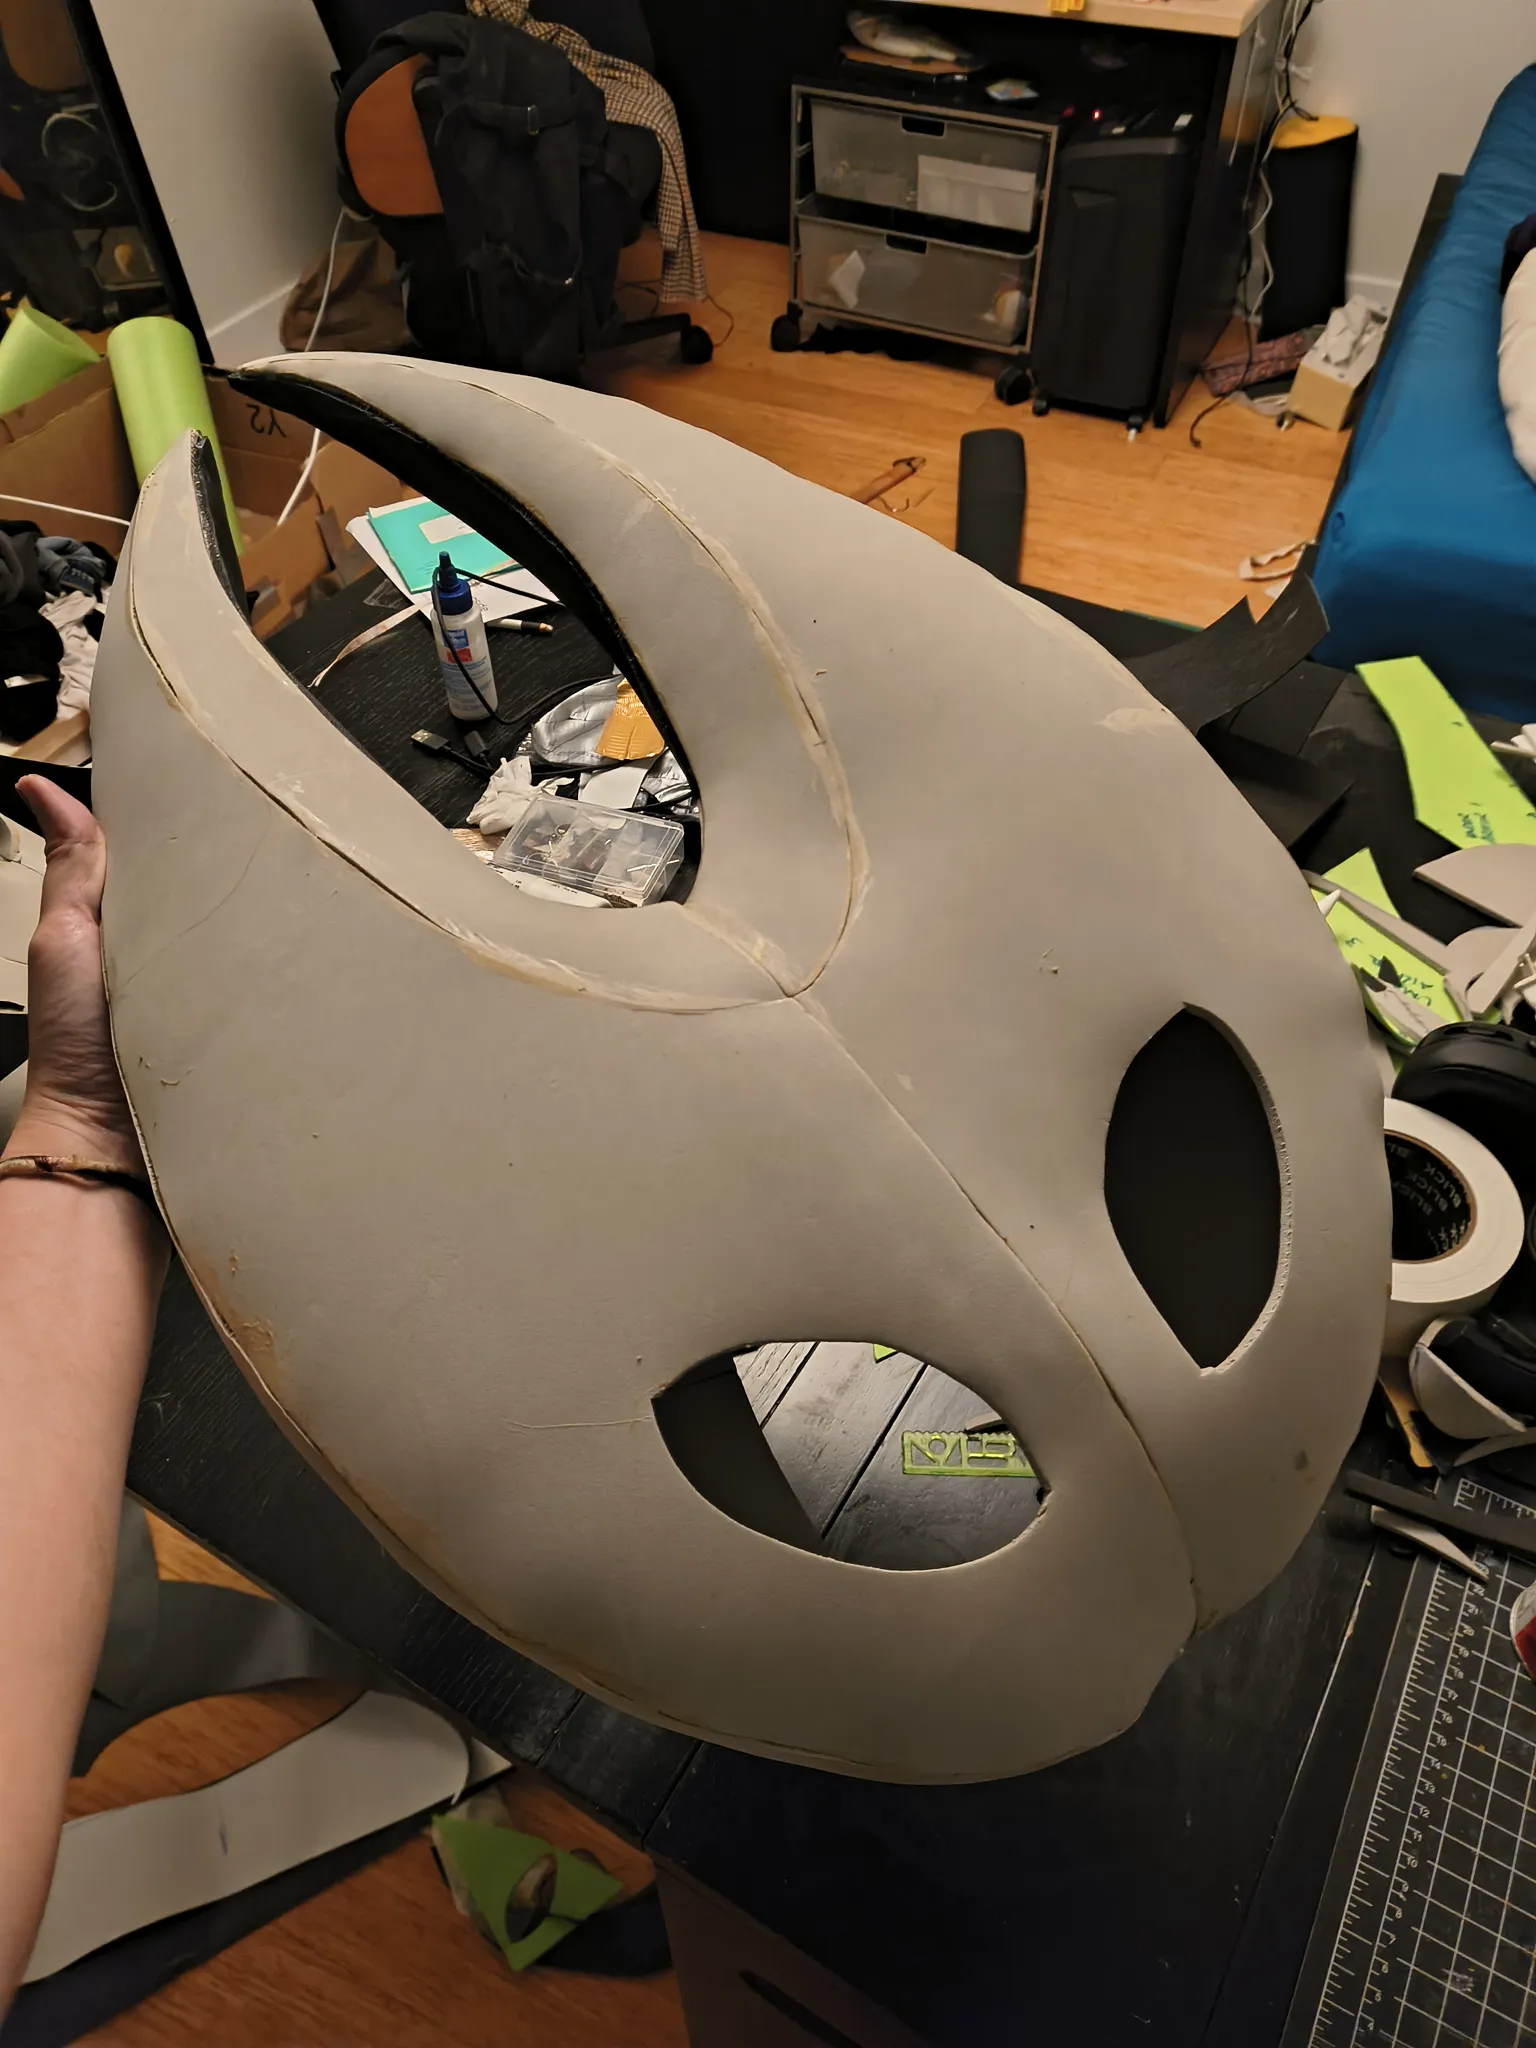 | 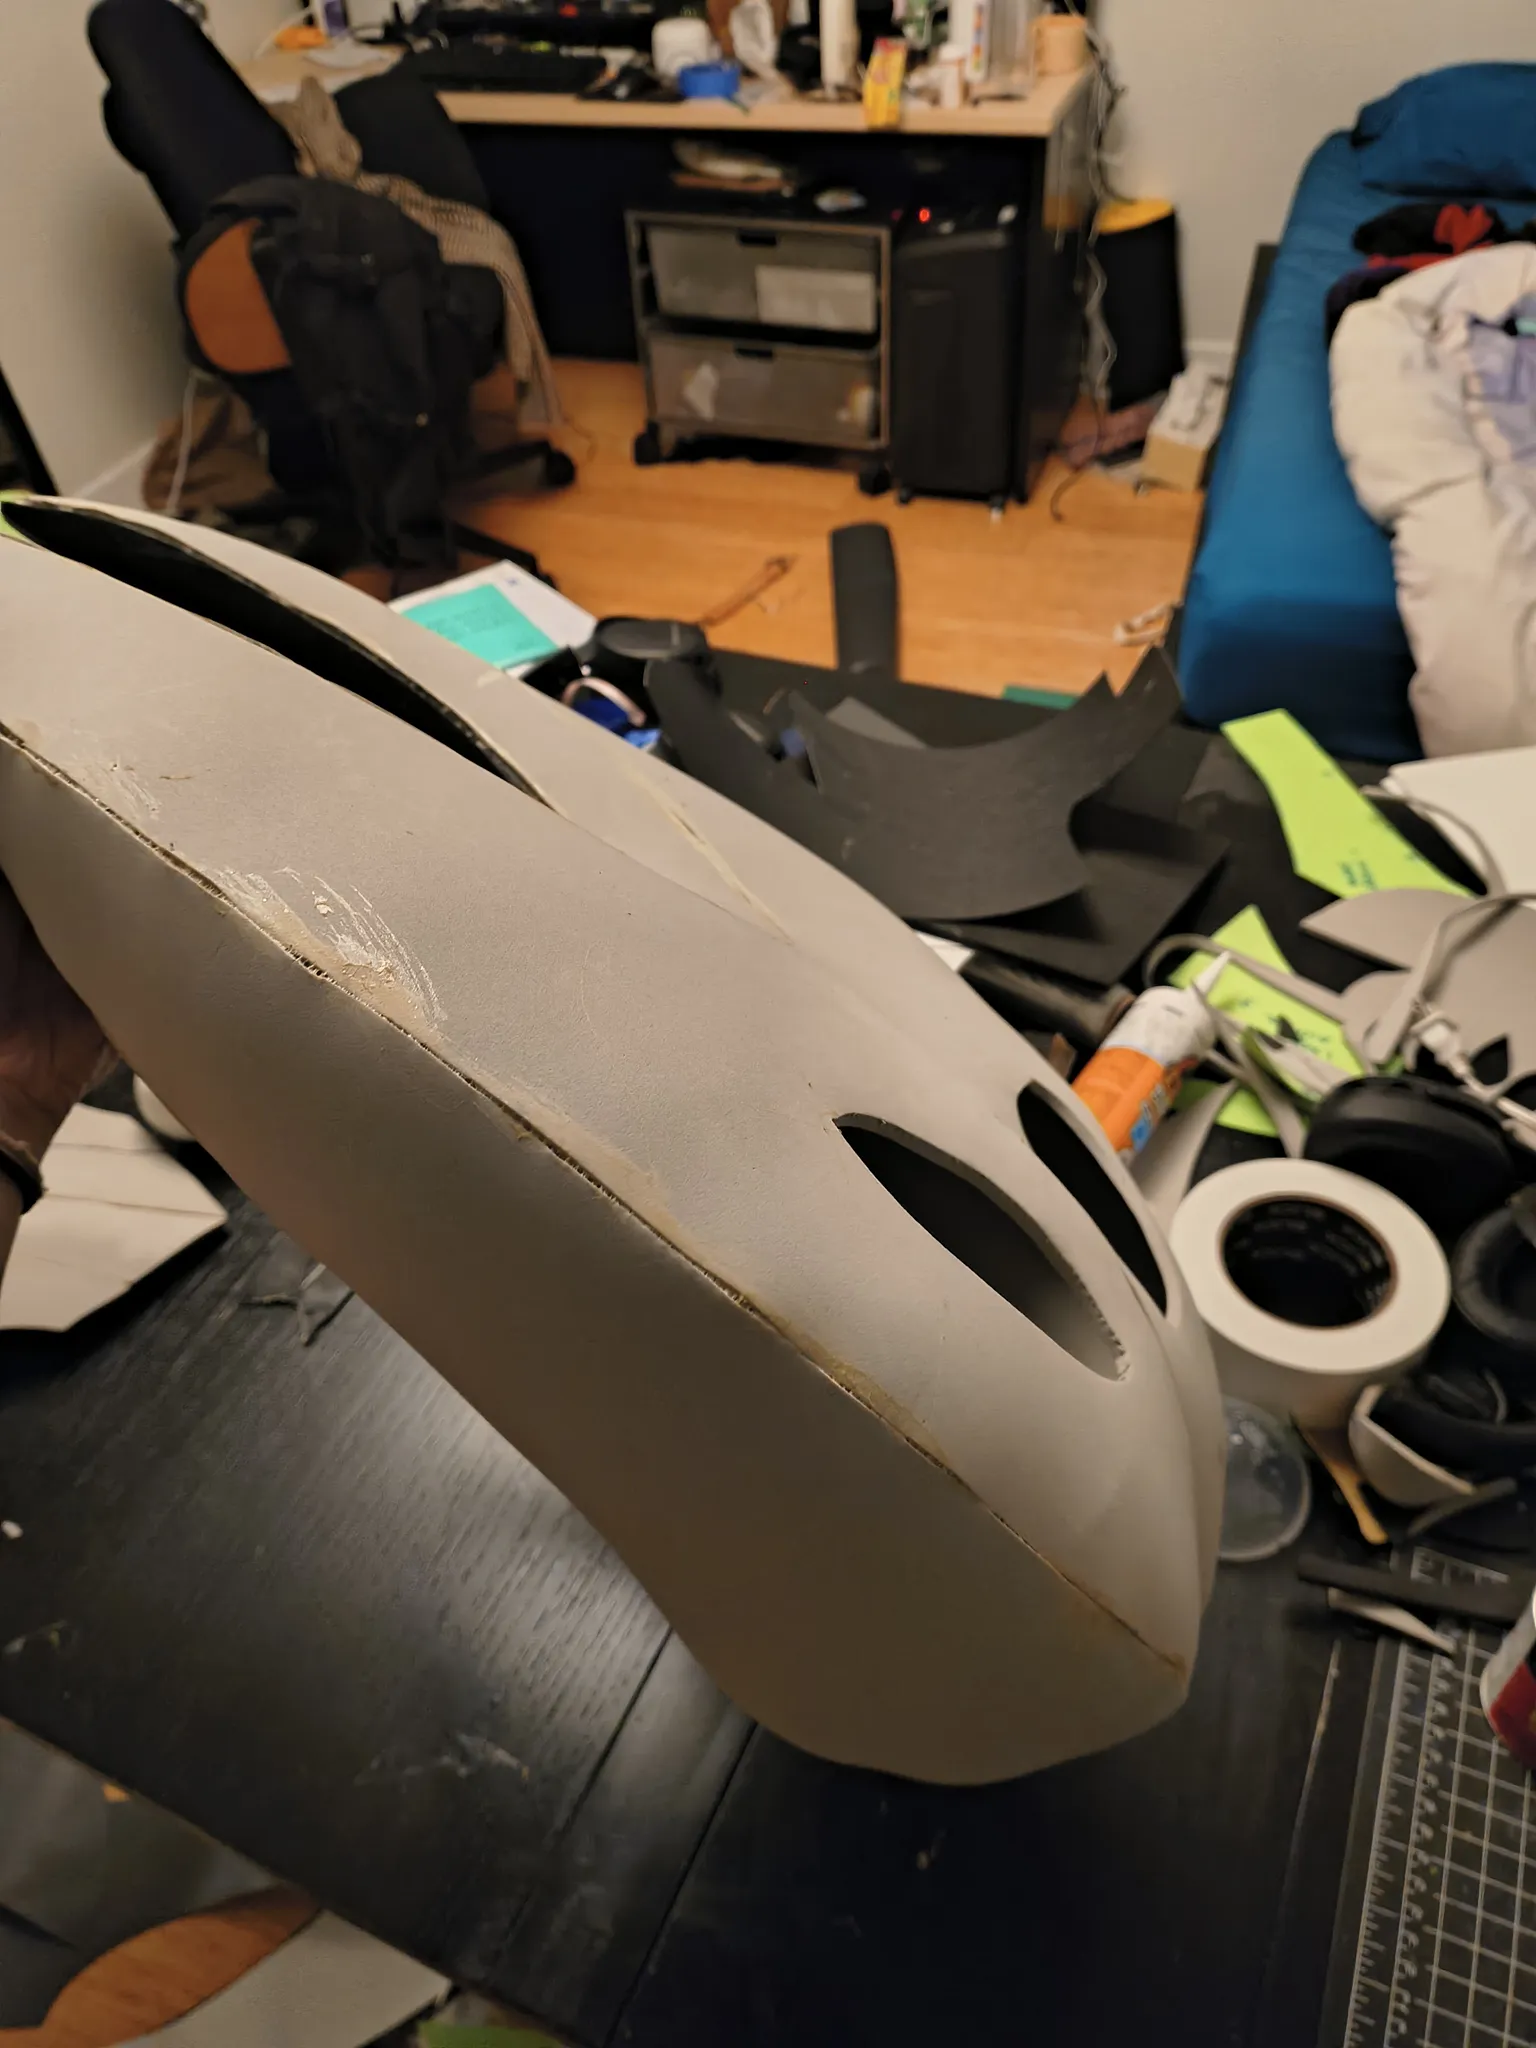 |
Fixing it properly would have meant drawing a whole new pattern and starting over, and I was not doing that. So I cut an almond shape out of either side of the mask, spread the horns apart, and contact glued it all back down. I also cut a diamond out of the front, right between the horns like the star on a horse's forehead, to help push them apart. You can see it in the fitting photo below. That fixed the horns! It also left dimples along the seams, so those got filled with spackle.
Foam on its own is floppy, so I lined the inside with Worbla to stiffen it up. Worbla is a thermoplastic sheet that goes soft with a heat gun, so you can press it into the inside of the mask and it holds the shape once it cools.
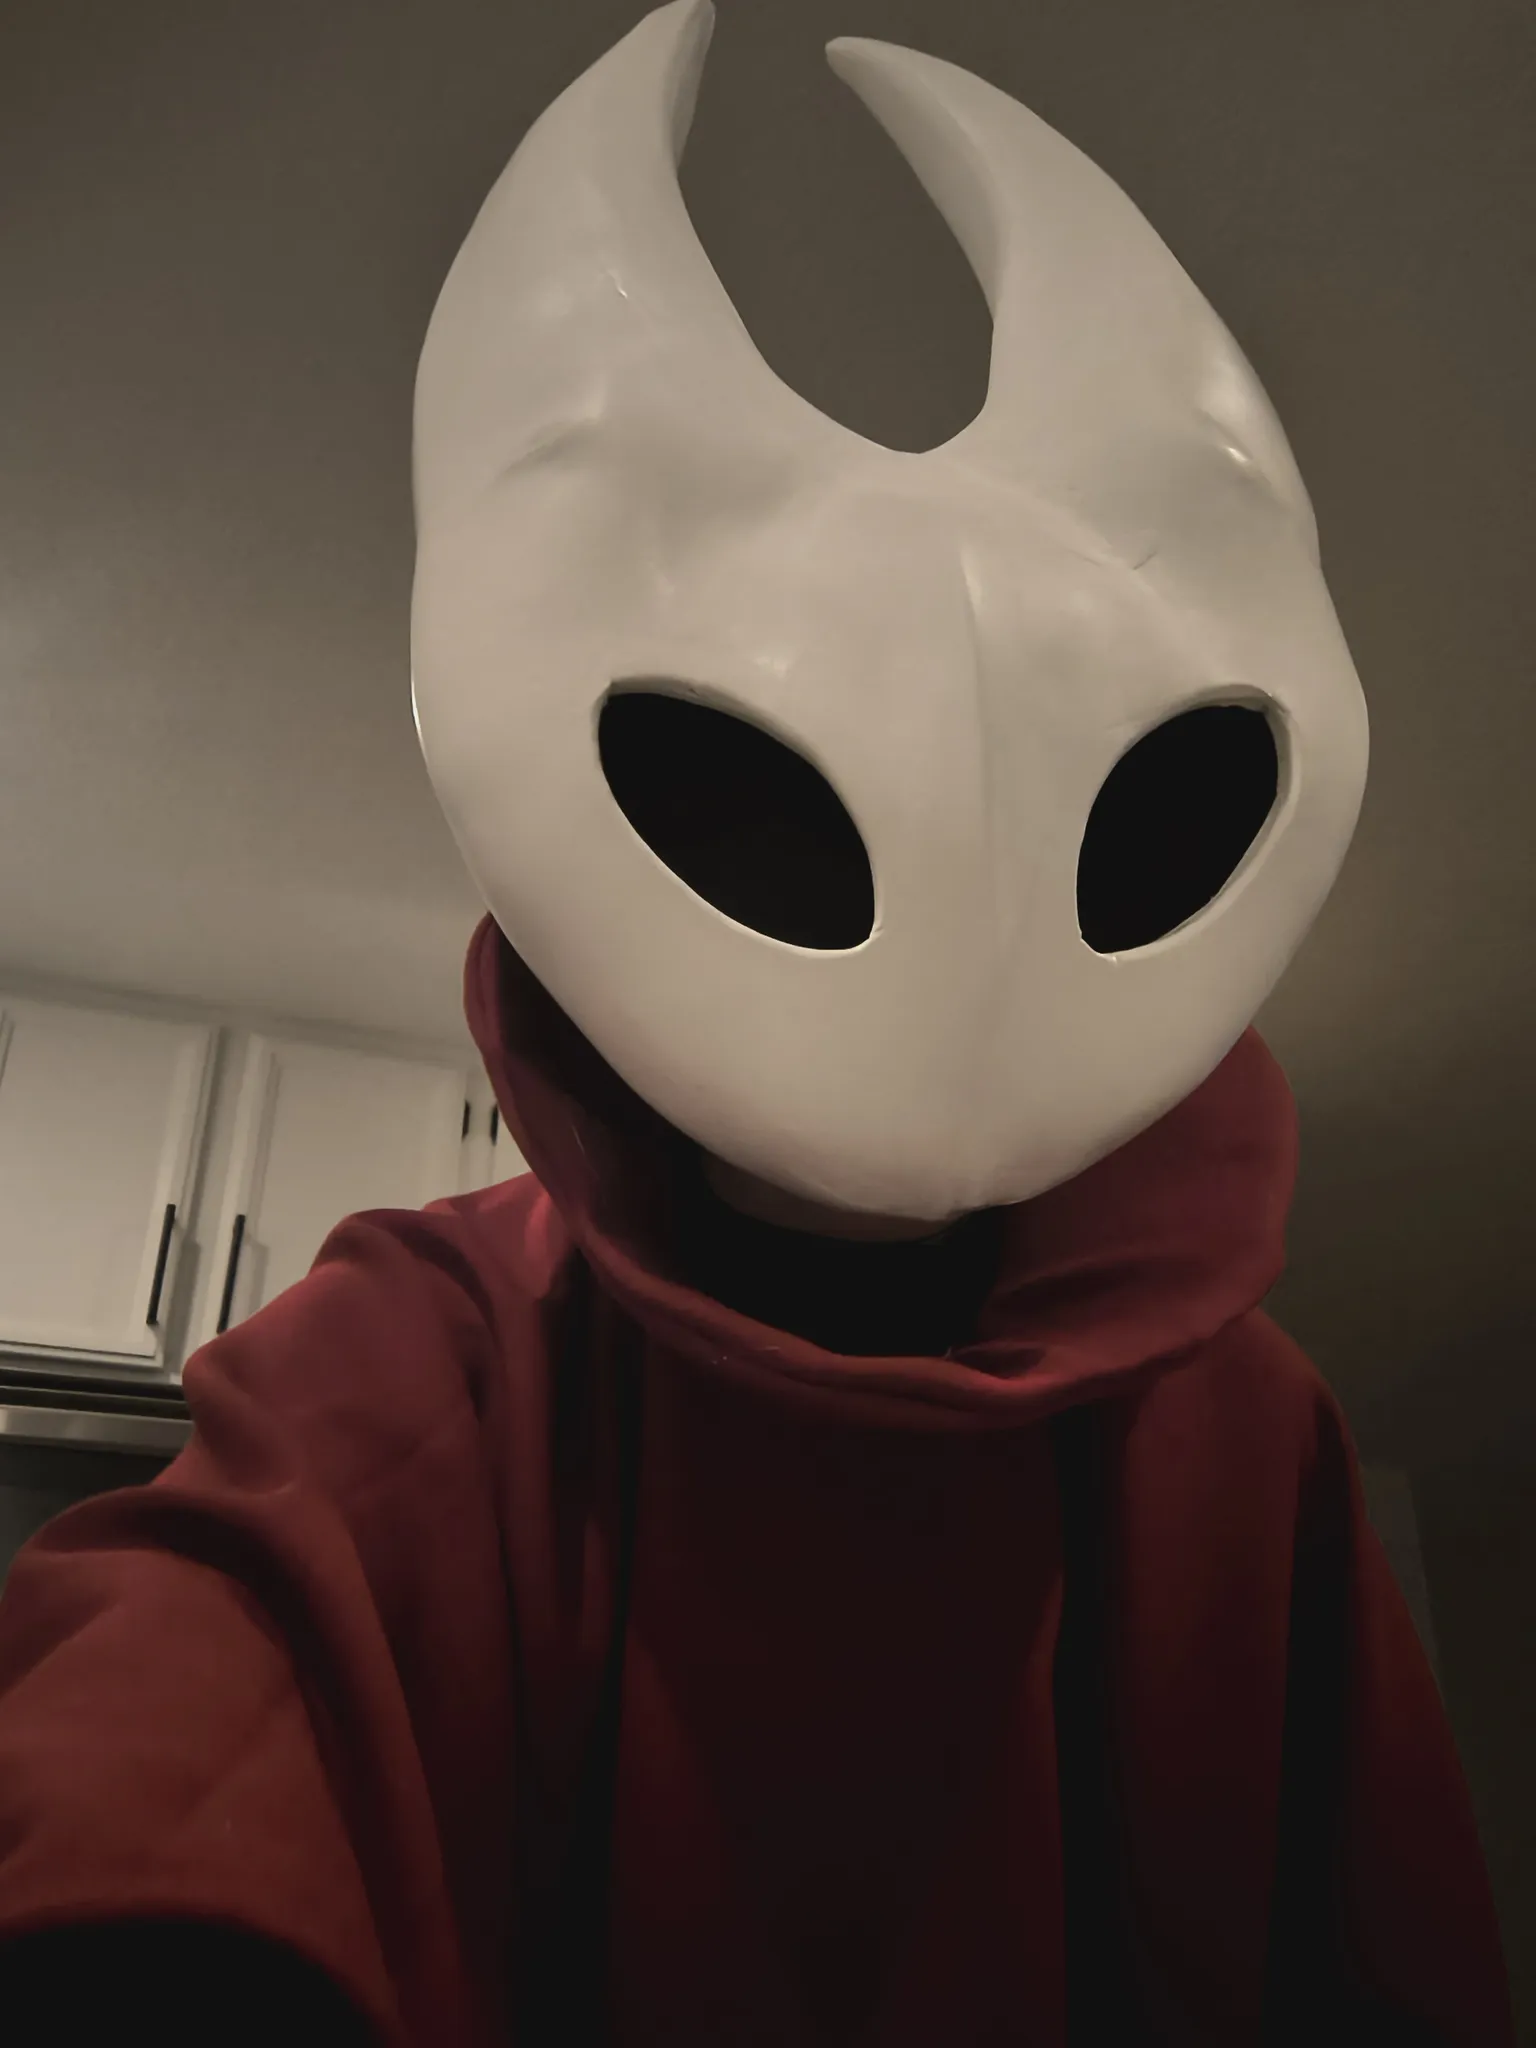
Even reinforced, the whole thing still has enough give that I can squeeze my head into it and it springs right back!
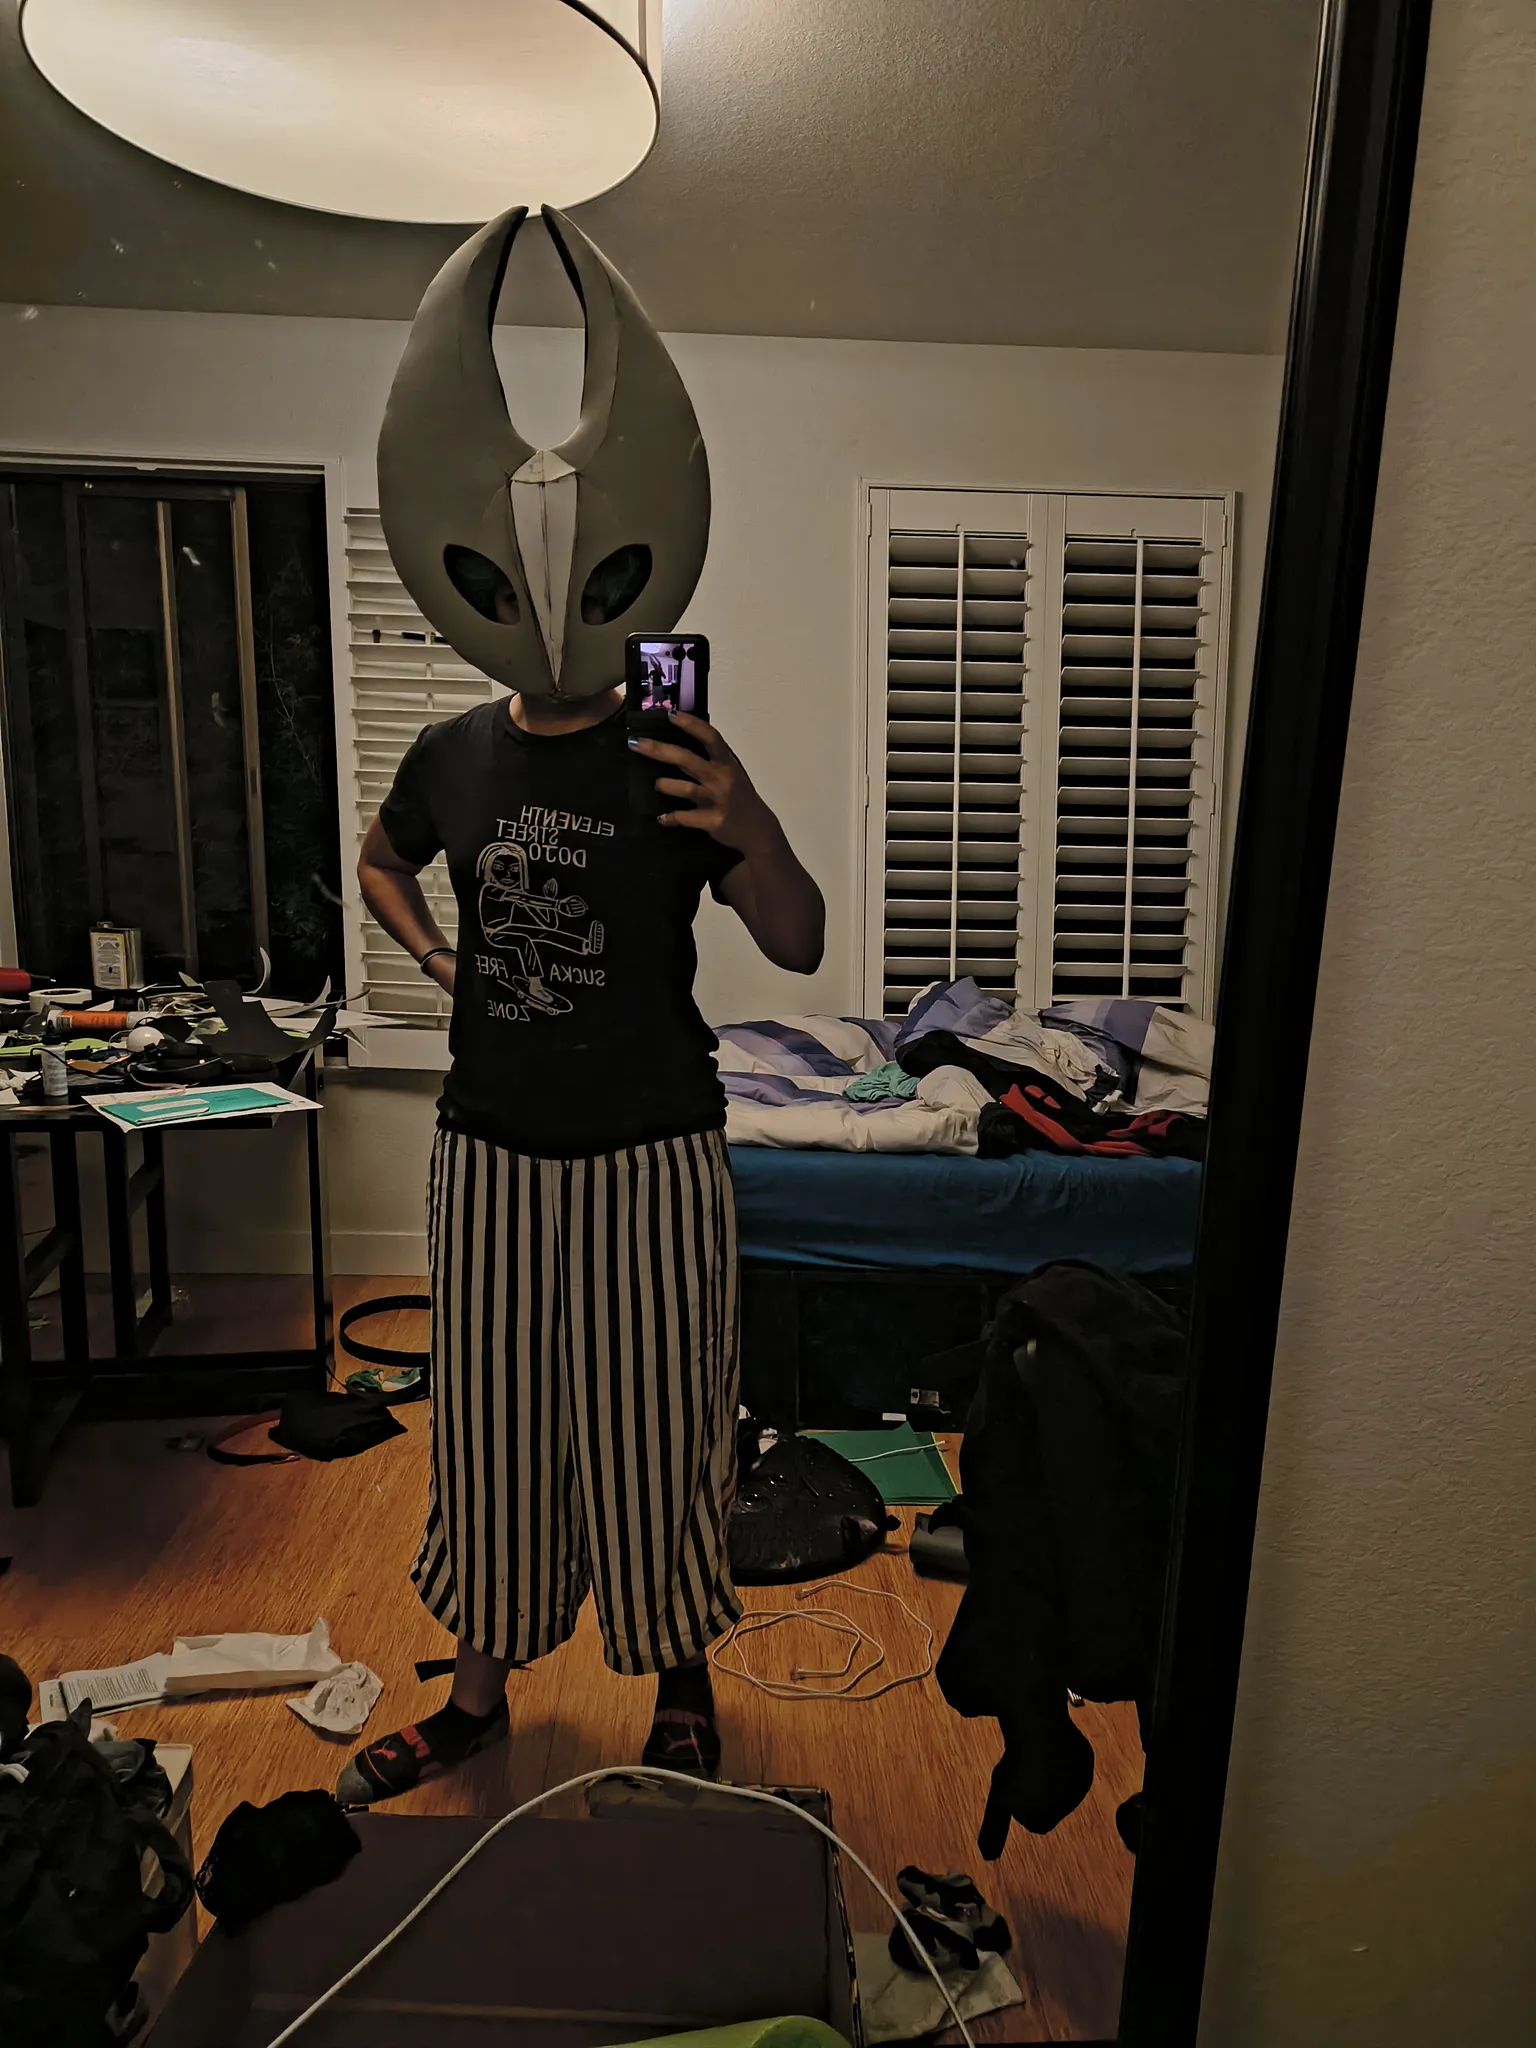
Sealing and painting
Foam and spackle both drink paint, and every seam and patch shows through if you don't seal them. So the points of contact and all the spackle got lots and lots of gesso. Lots!
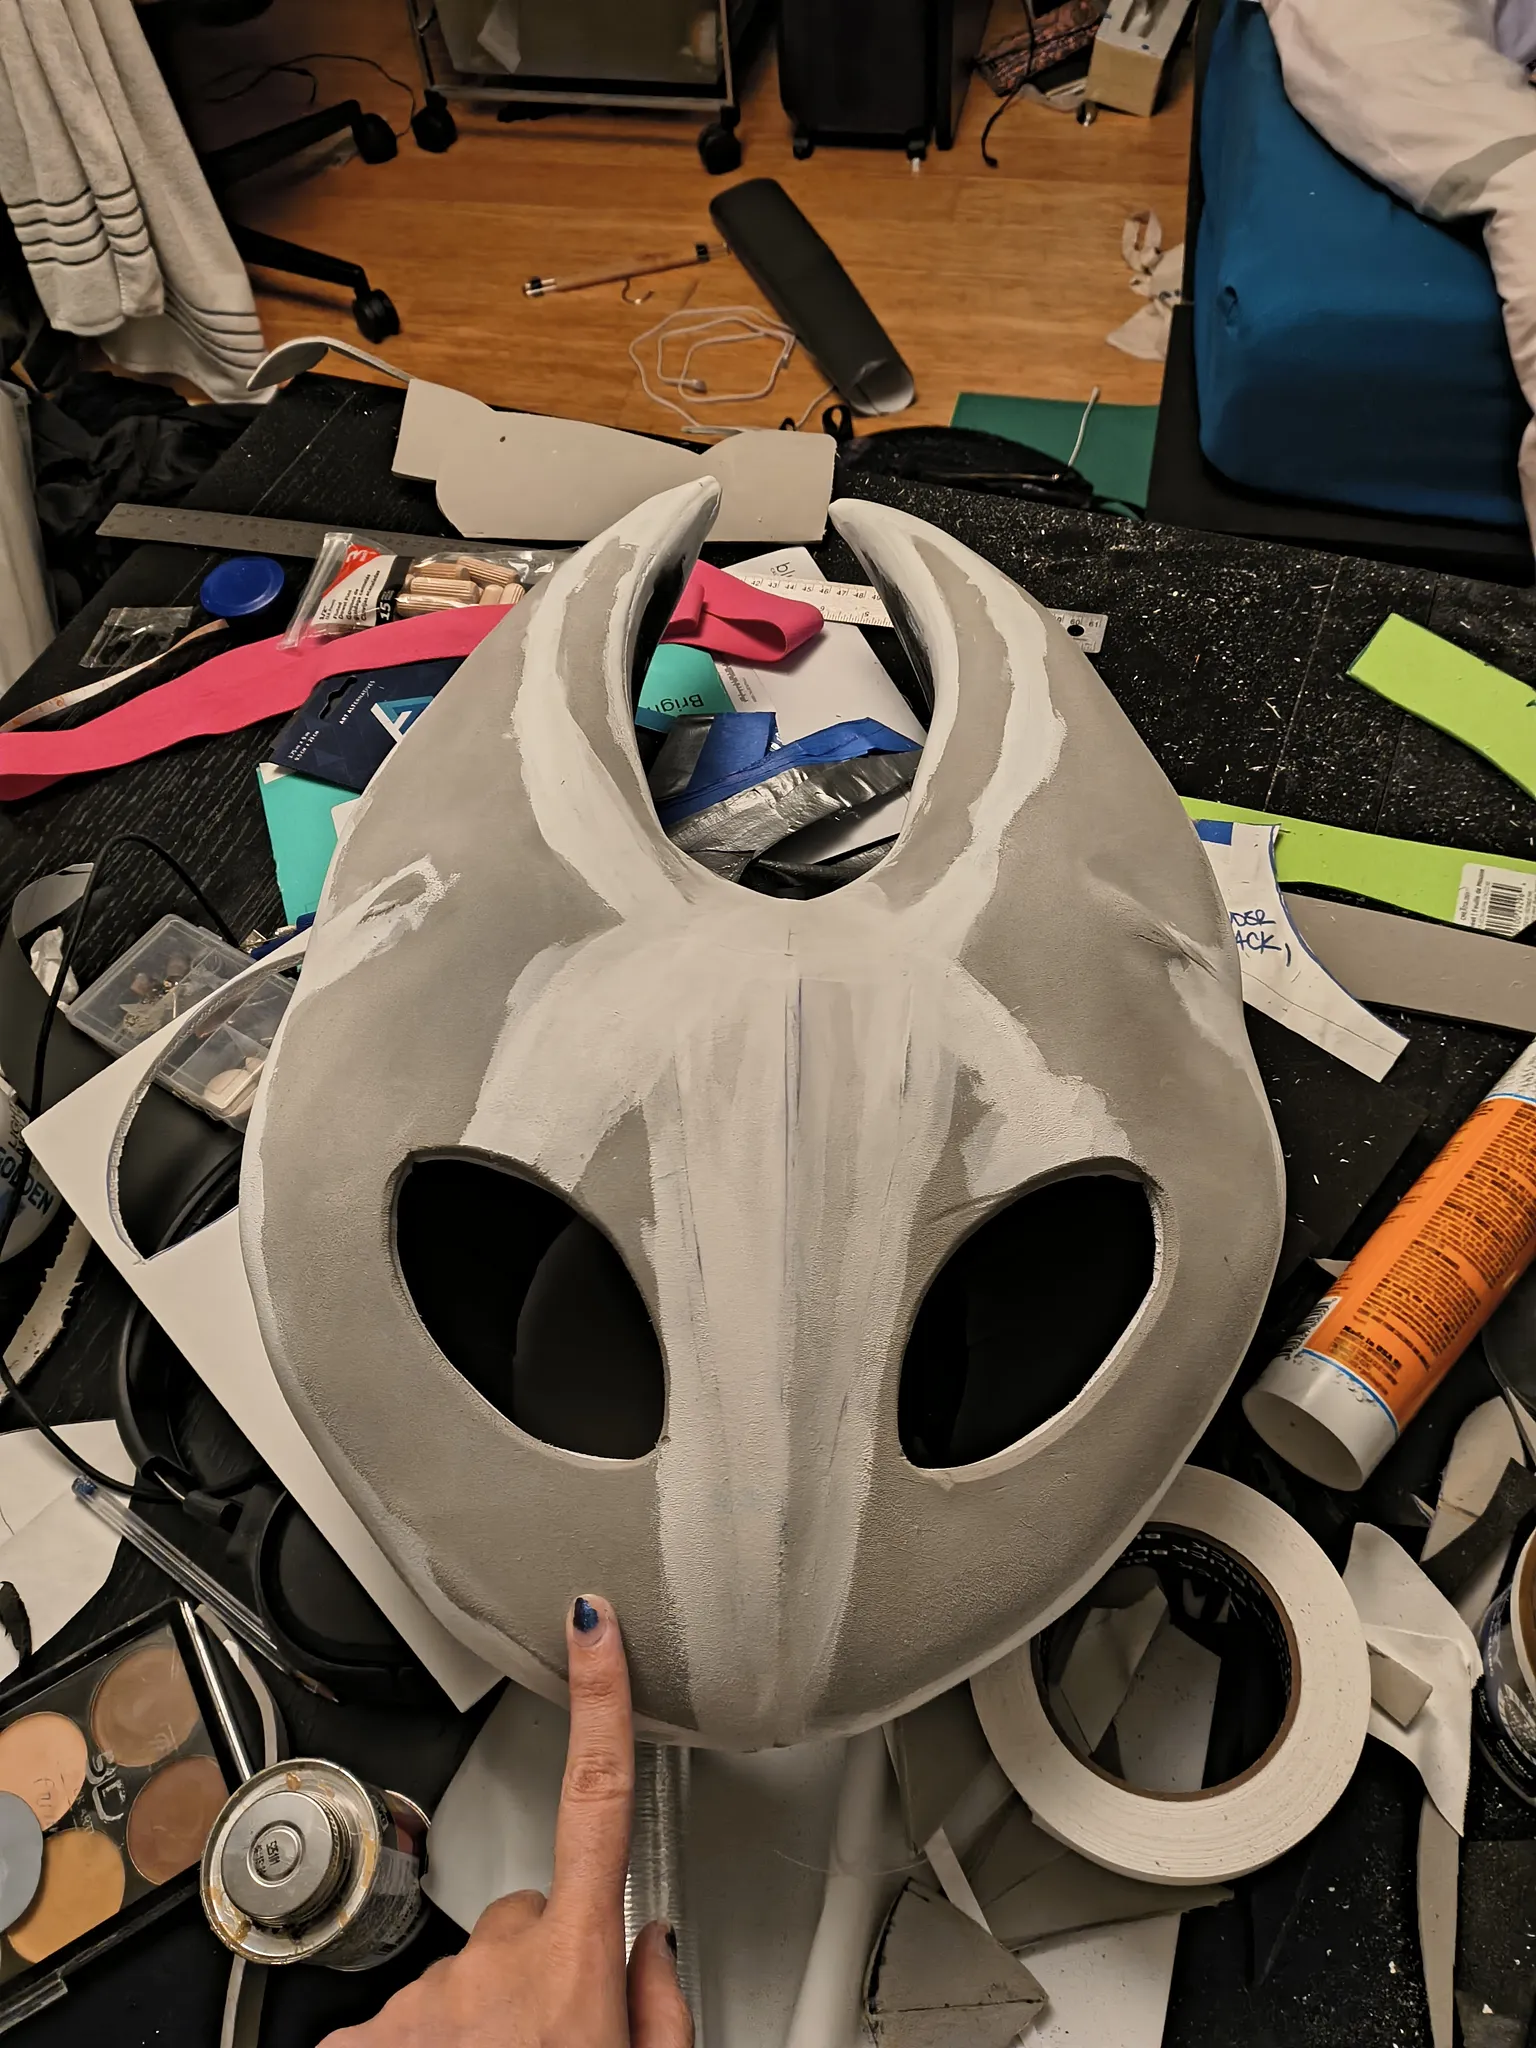
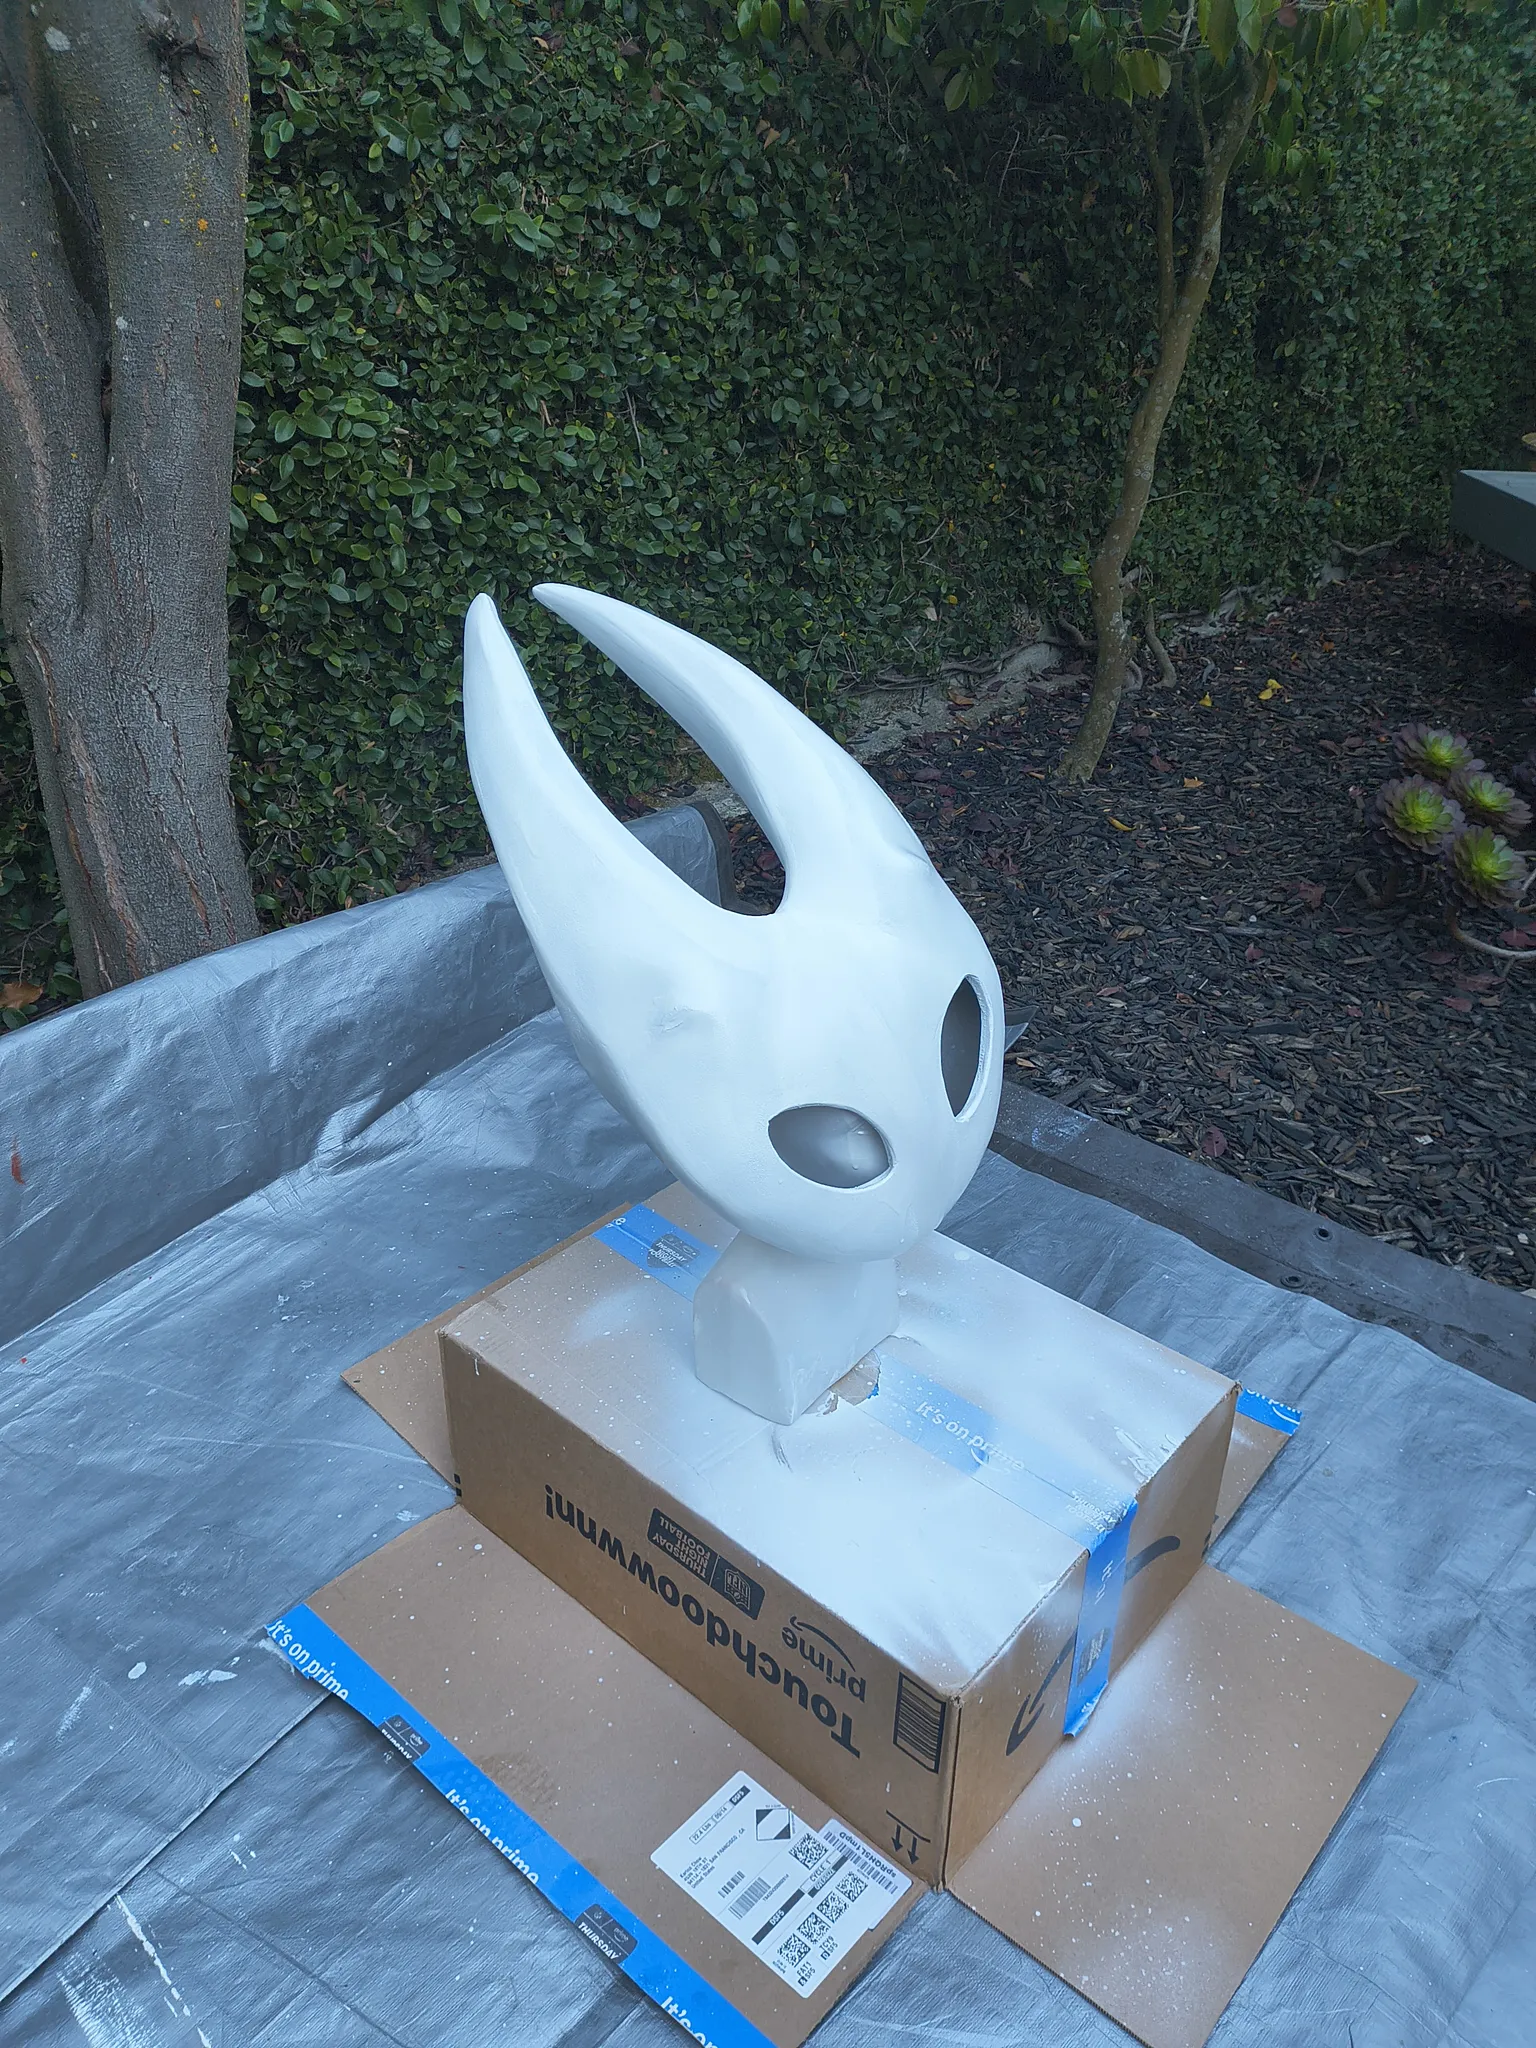
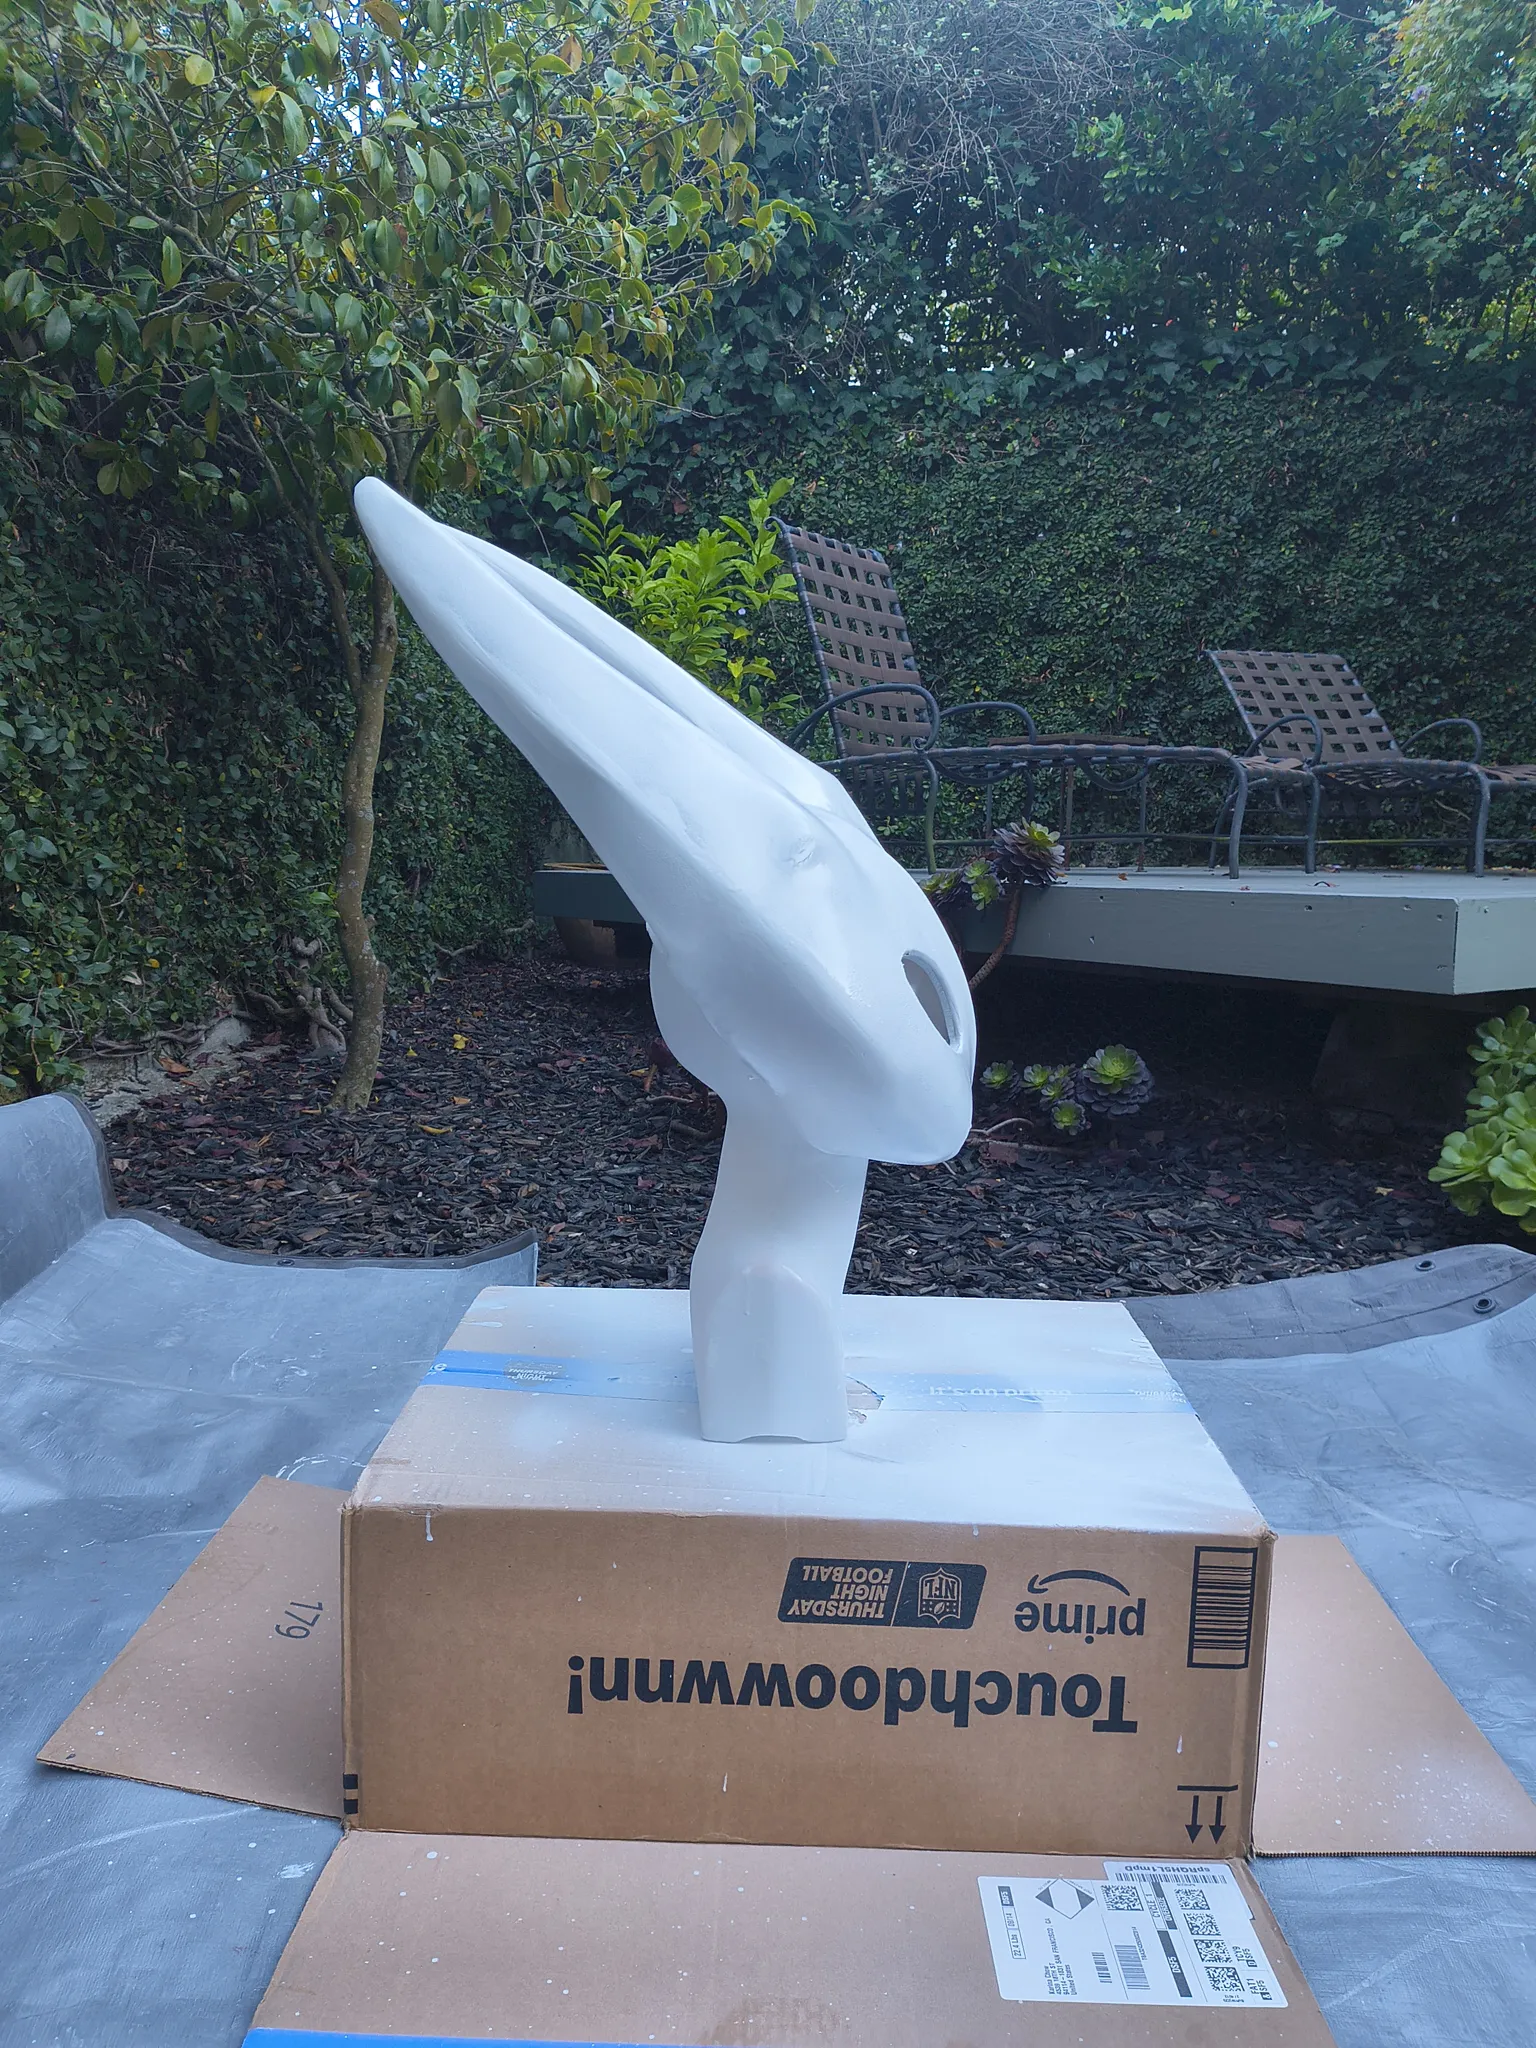
Then the whole thing got a coat of white Plasti Dip, which is a flexible rubber coating that seals the foam and lets the mask keep bending without the paint cracking. On top of that went a primer, then a white glossy paint.
 |  |
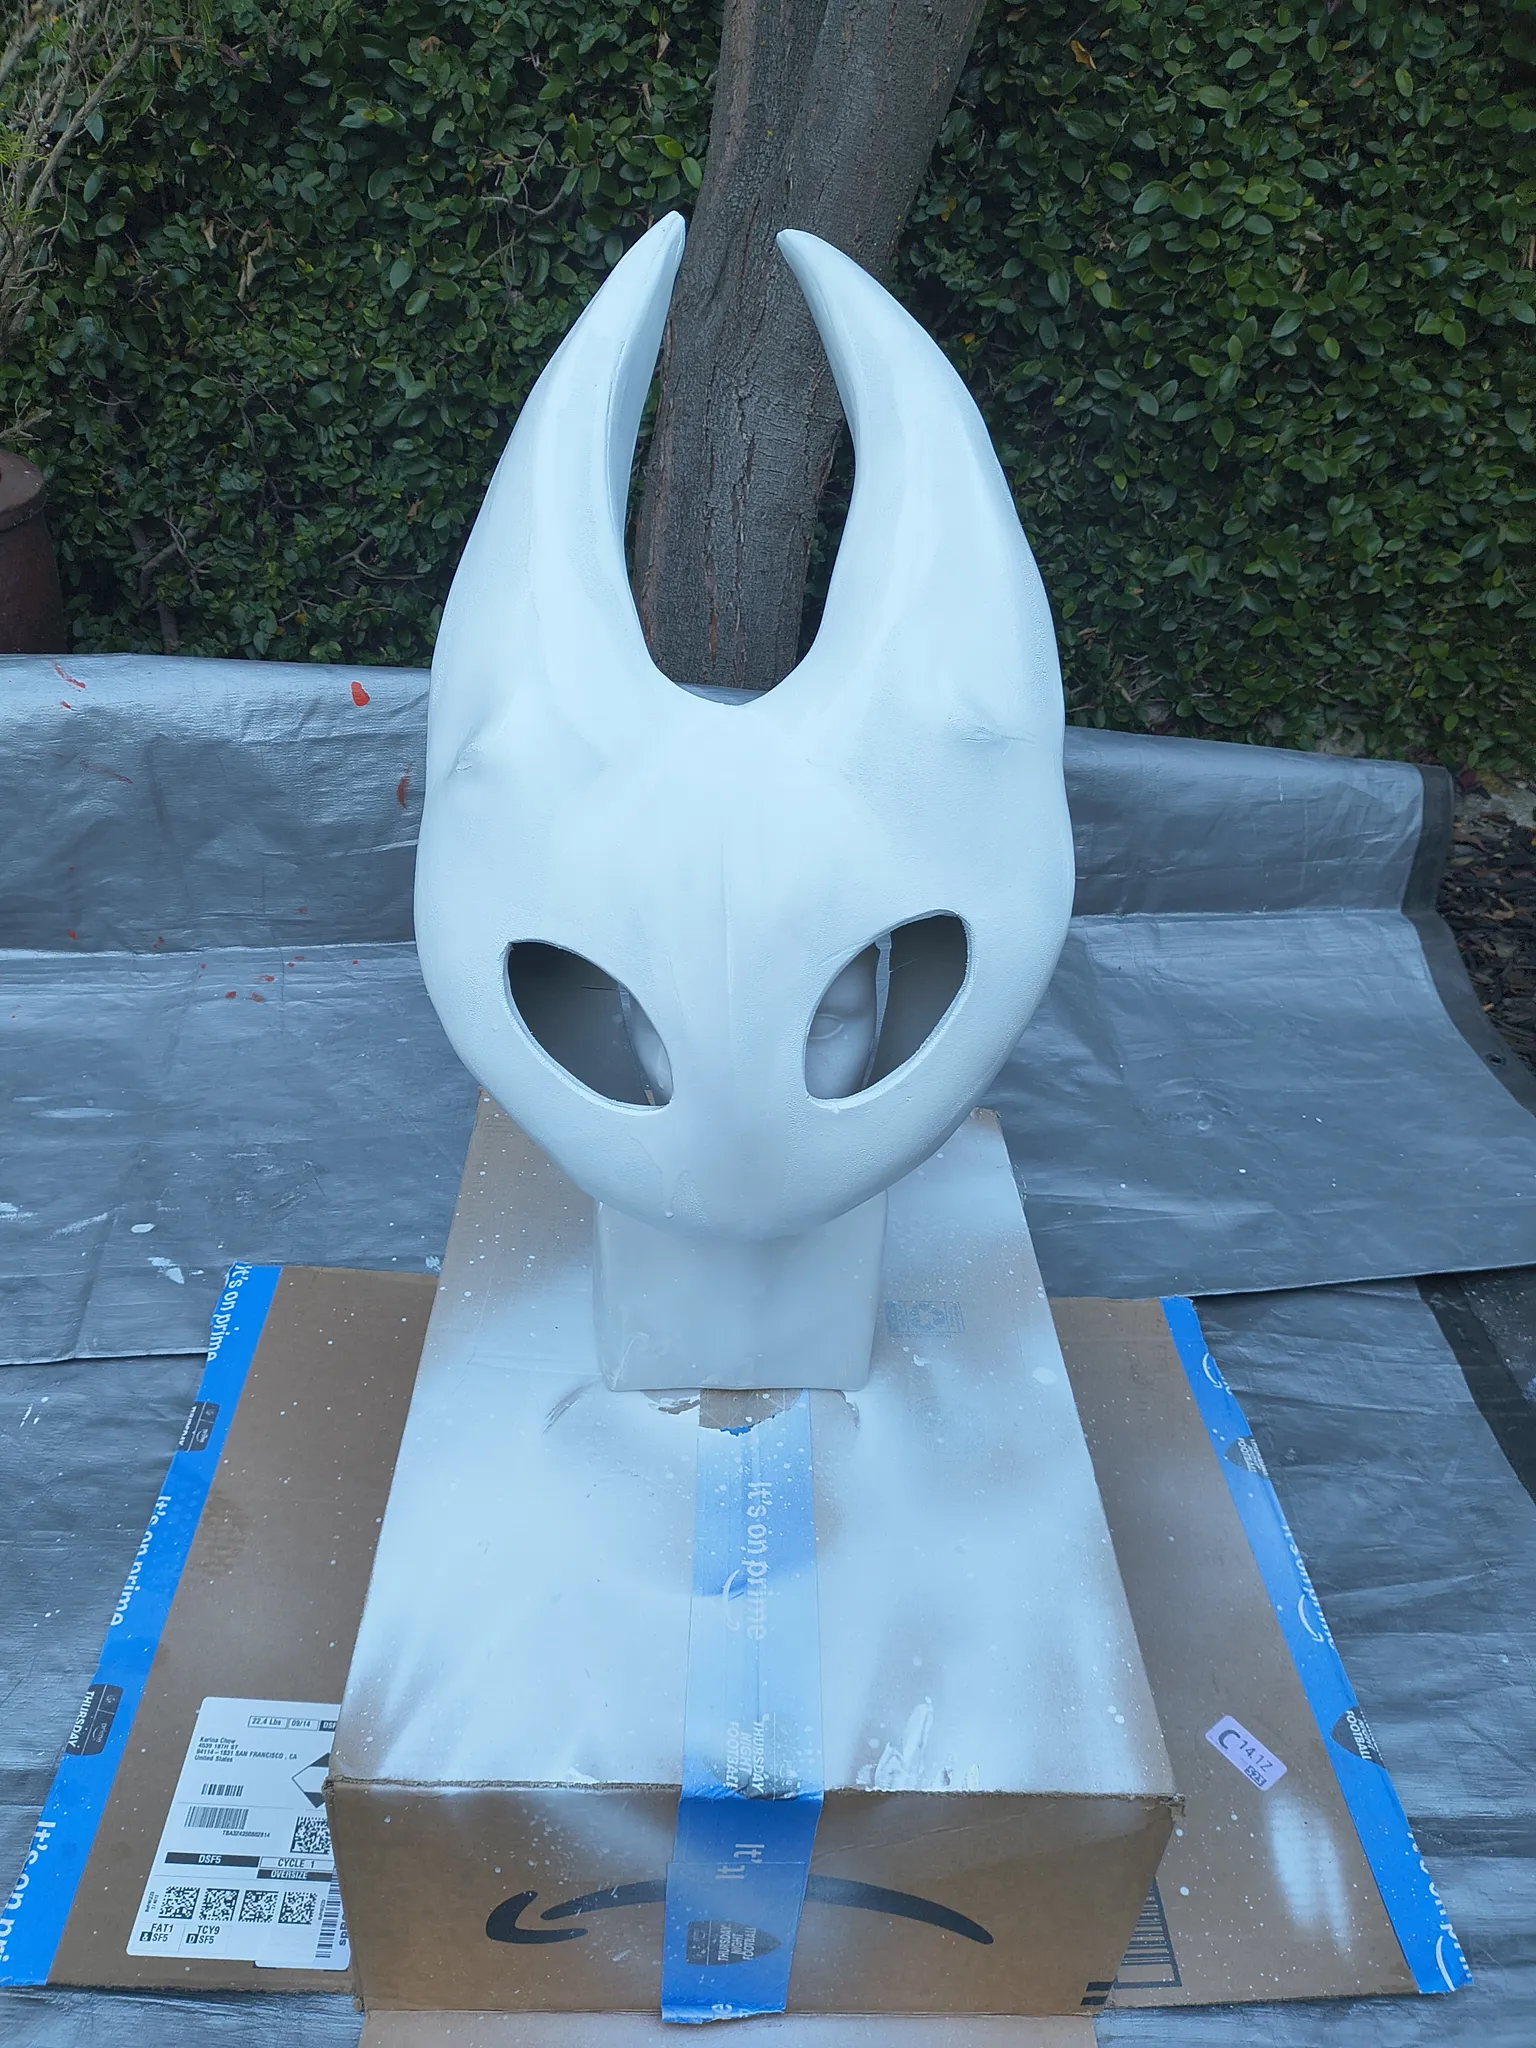
Last step: the eyes got covered with transparent black fabric. They read as solid black from the outside, and I can still see out!
The cloak
The pattern
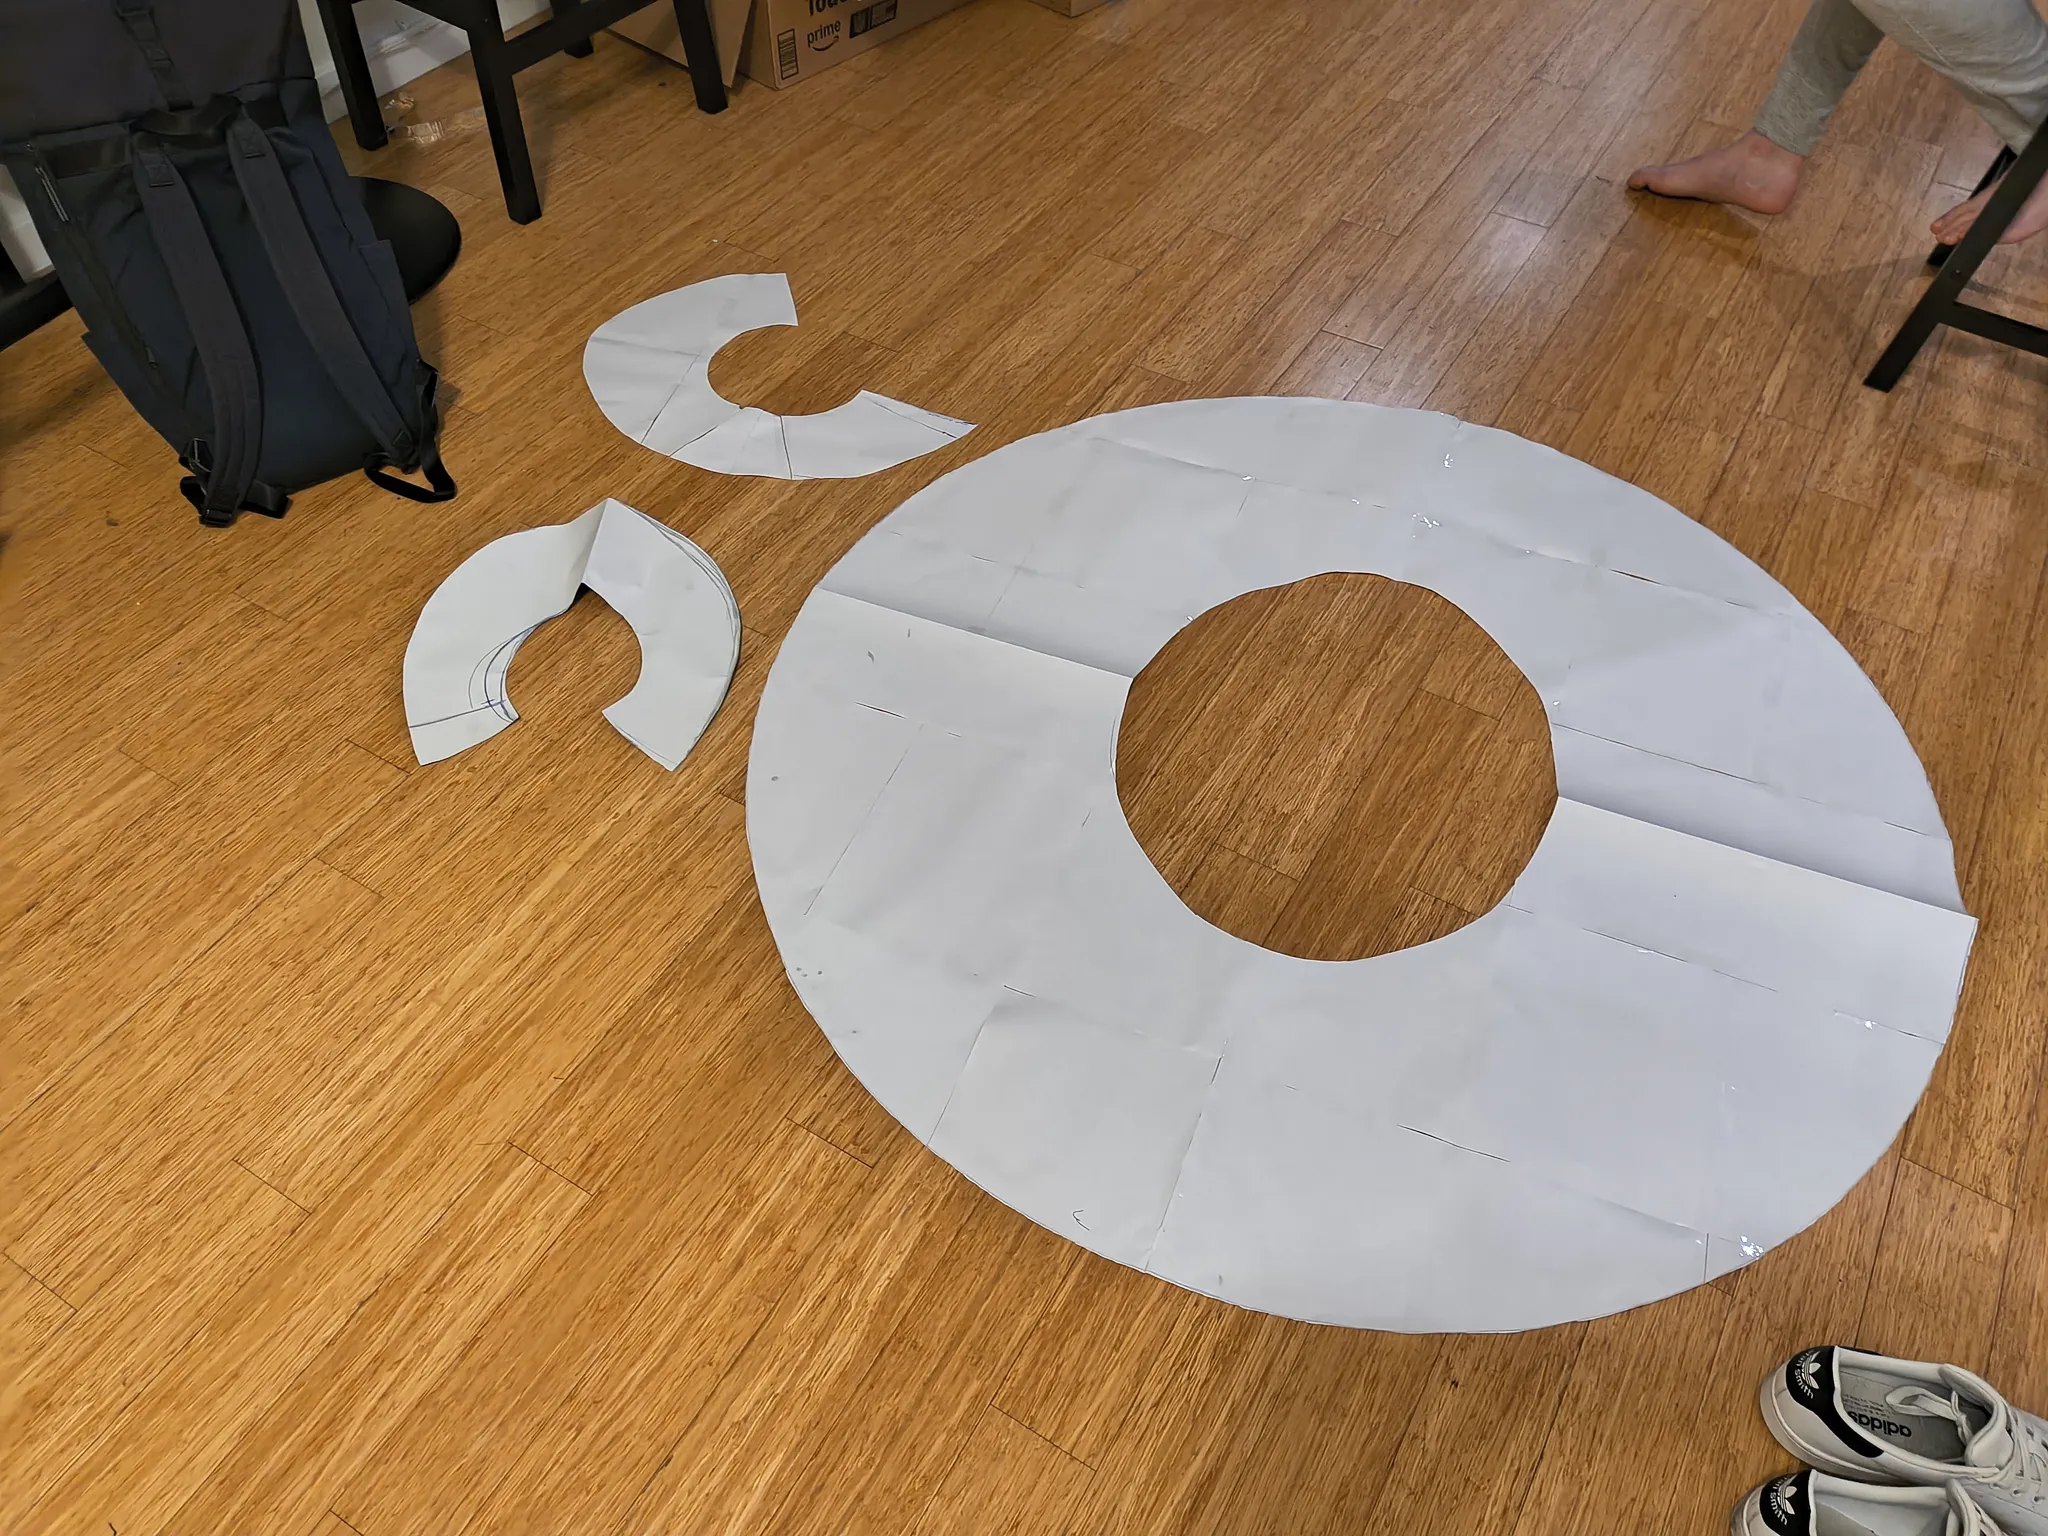
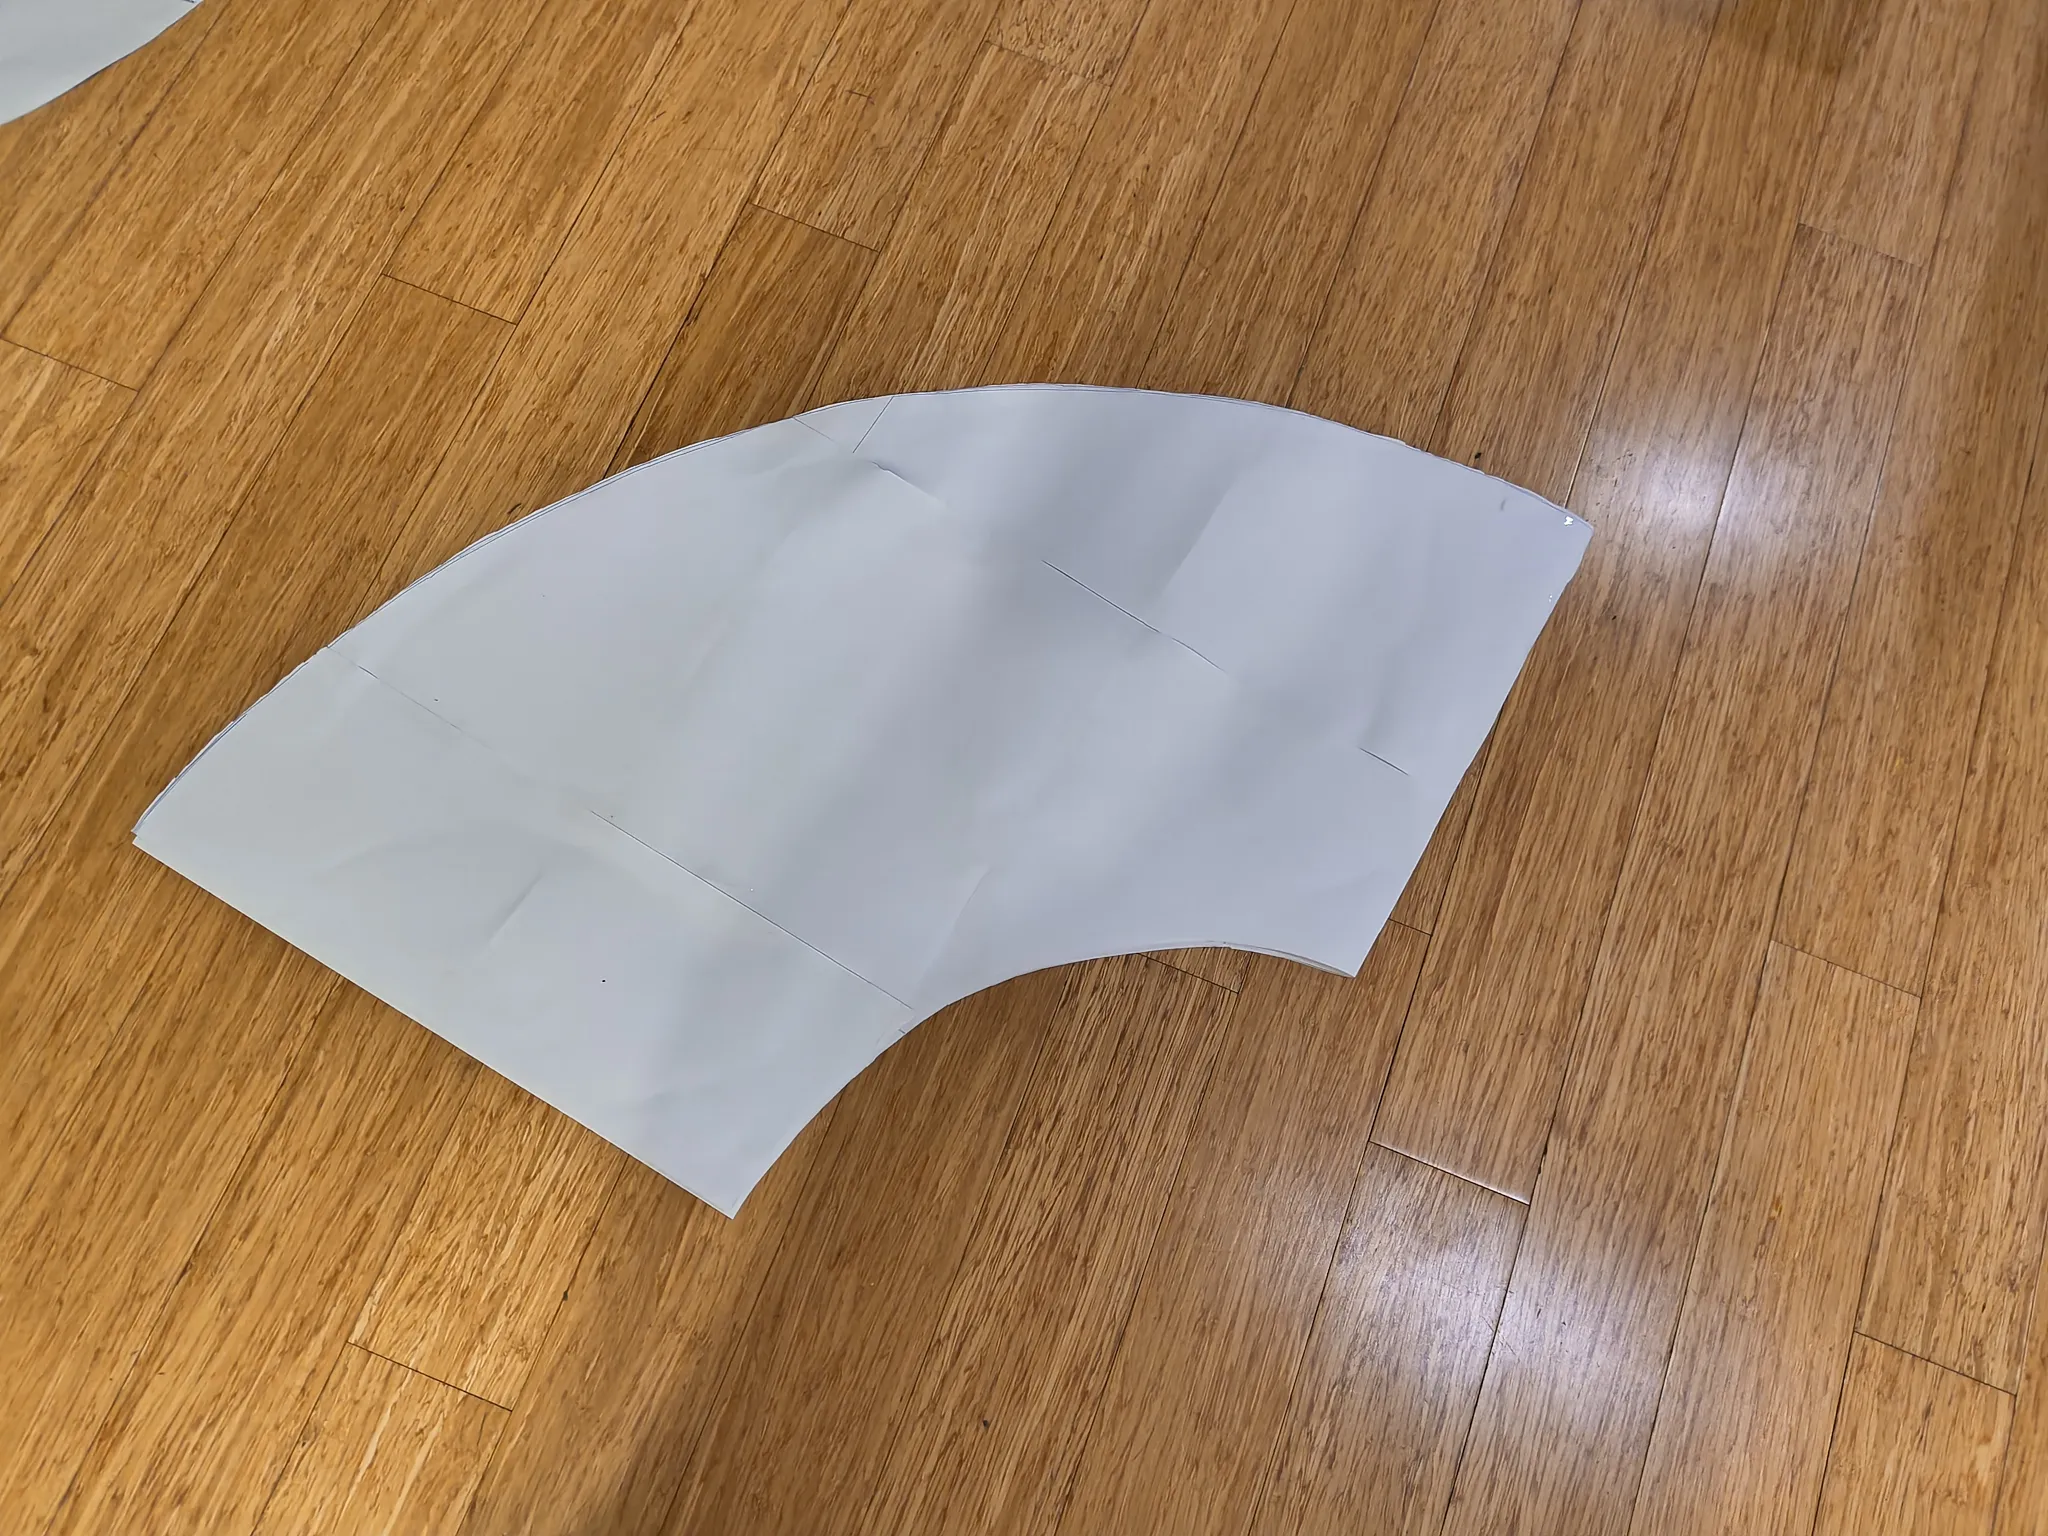
I made my own pattern for the cloak too. Hornet's cloak is basically a big circle with a hole in it for the neck, plus a tall collar that stands up around the face. Cut out on the floor at midnight, as is tradition!
 |  |
Choosing the fabric
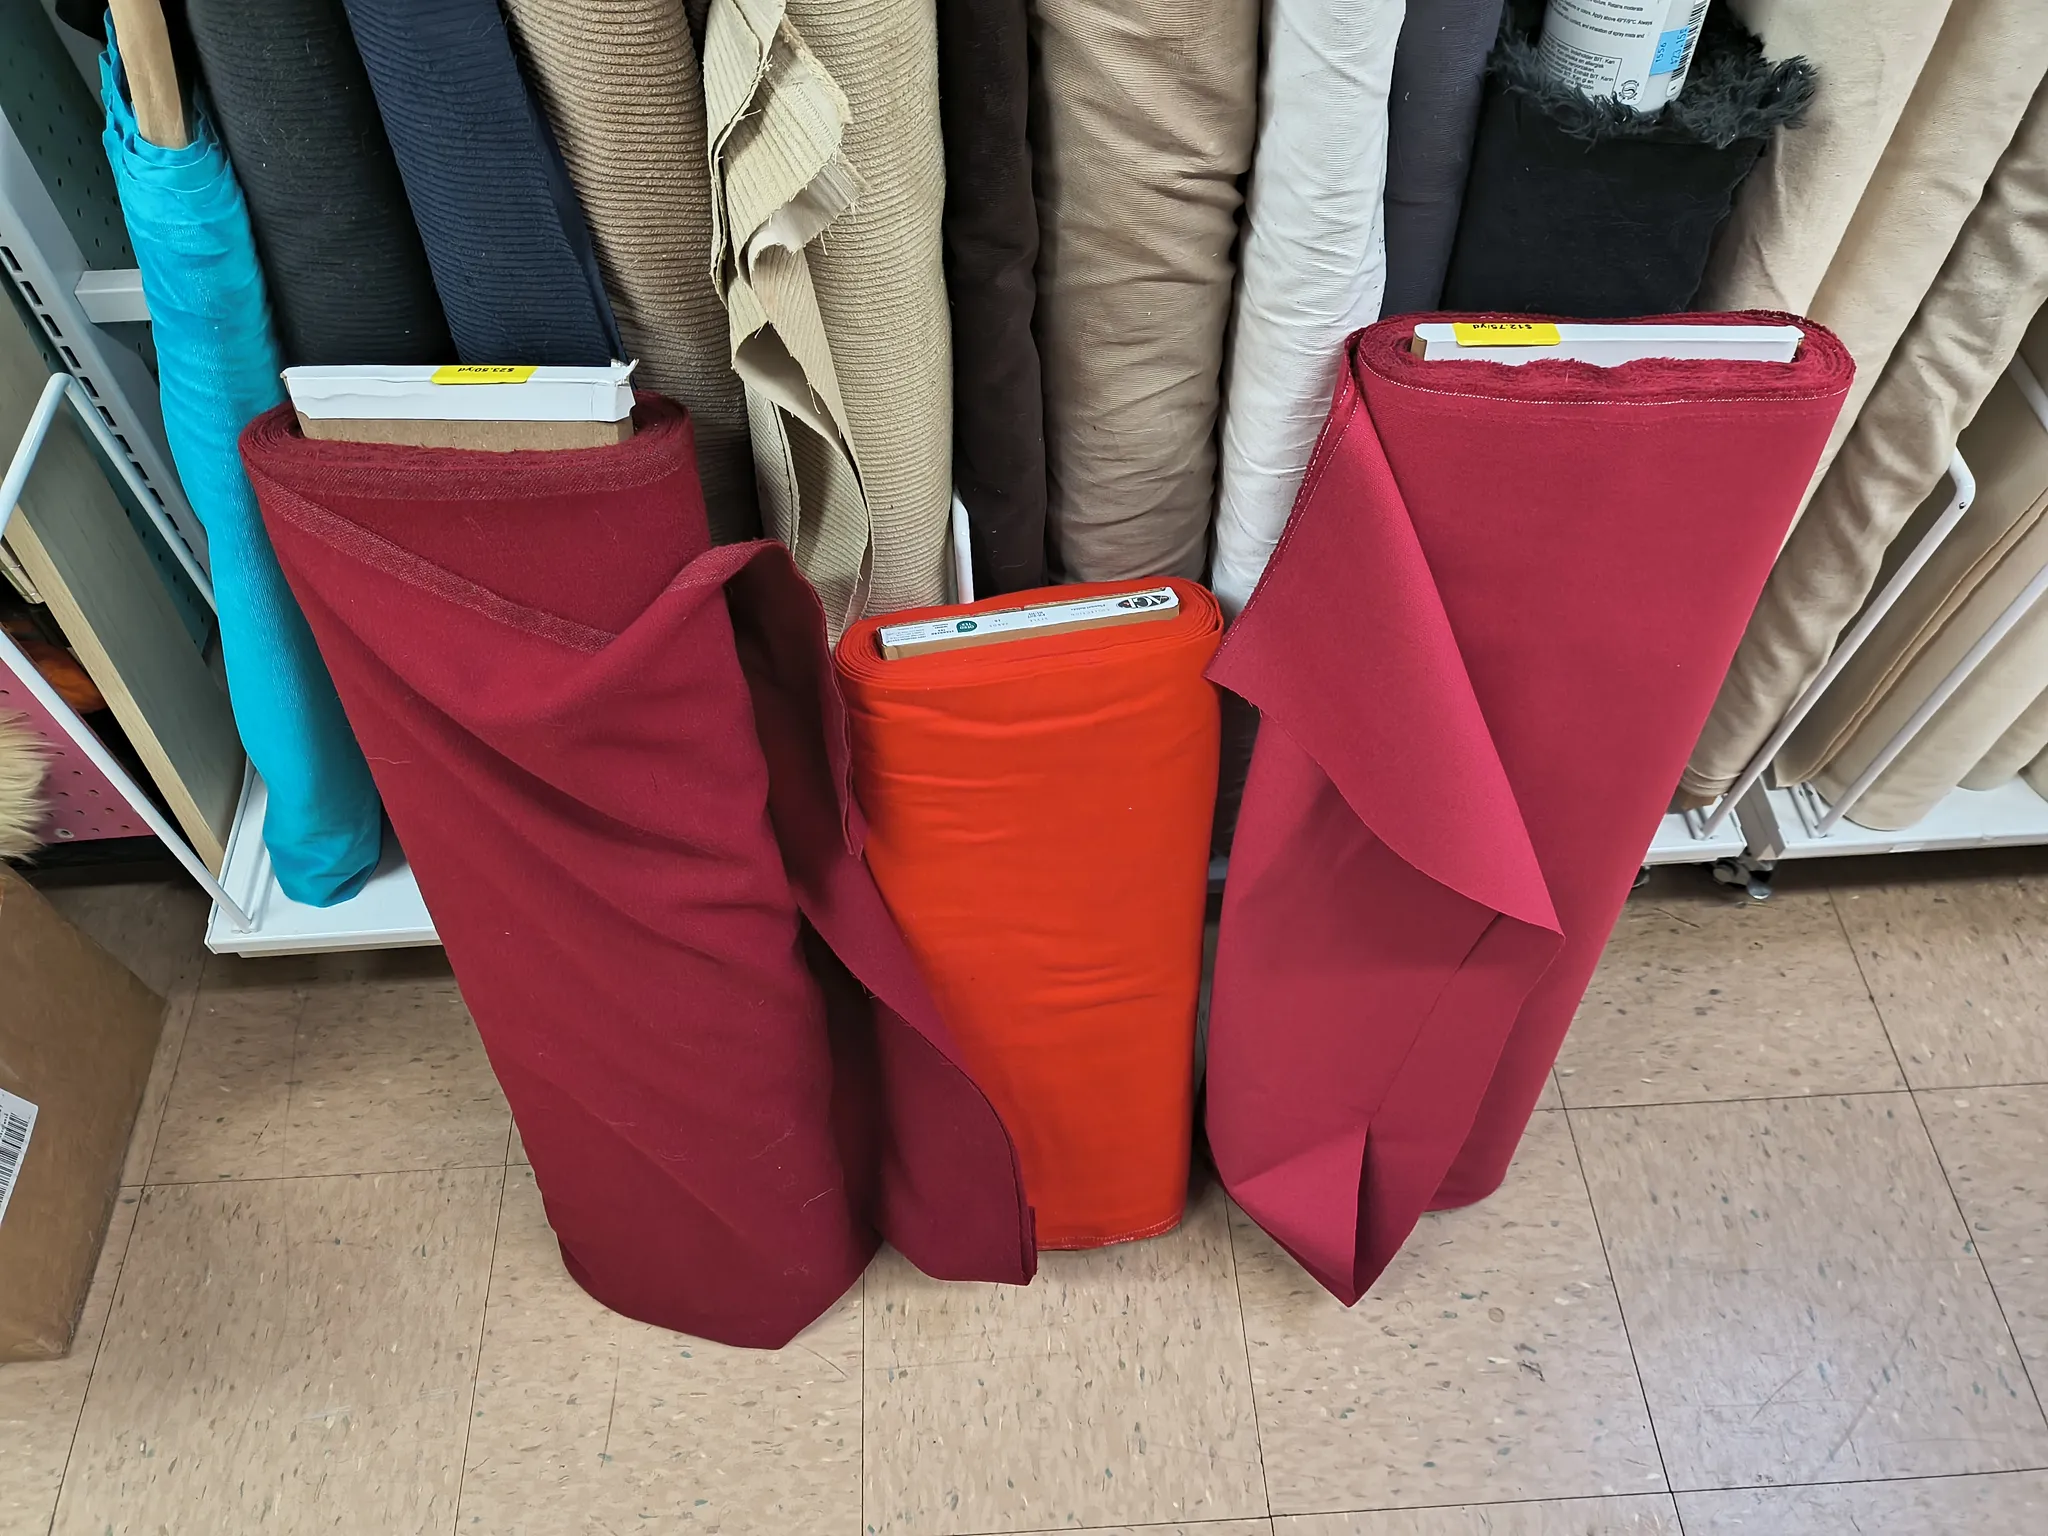
I went back and forth between a ton of reds at the fabric store! I ended up with a thick weave that gives the cloak some heft, so it hangs and swings like a real garment instead of floating around like a costume. It's also warmer than the other options, which I did not regret on Halloween night.
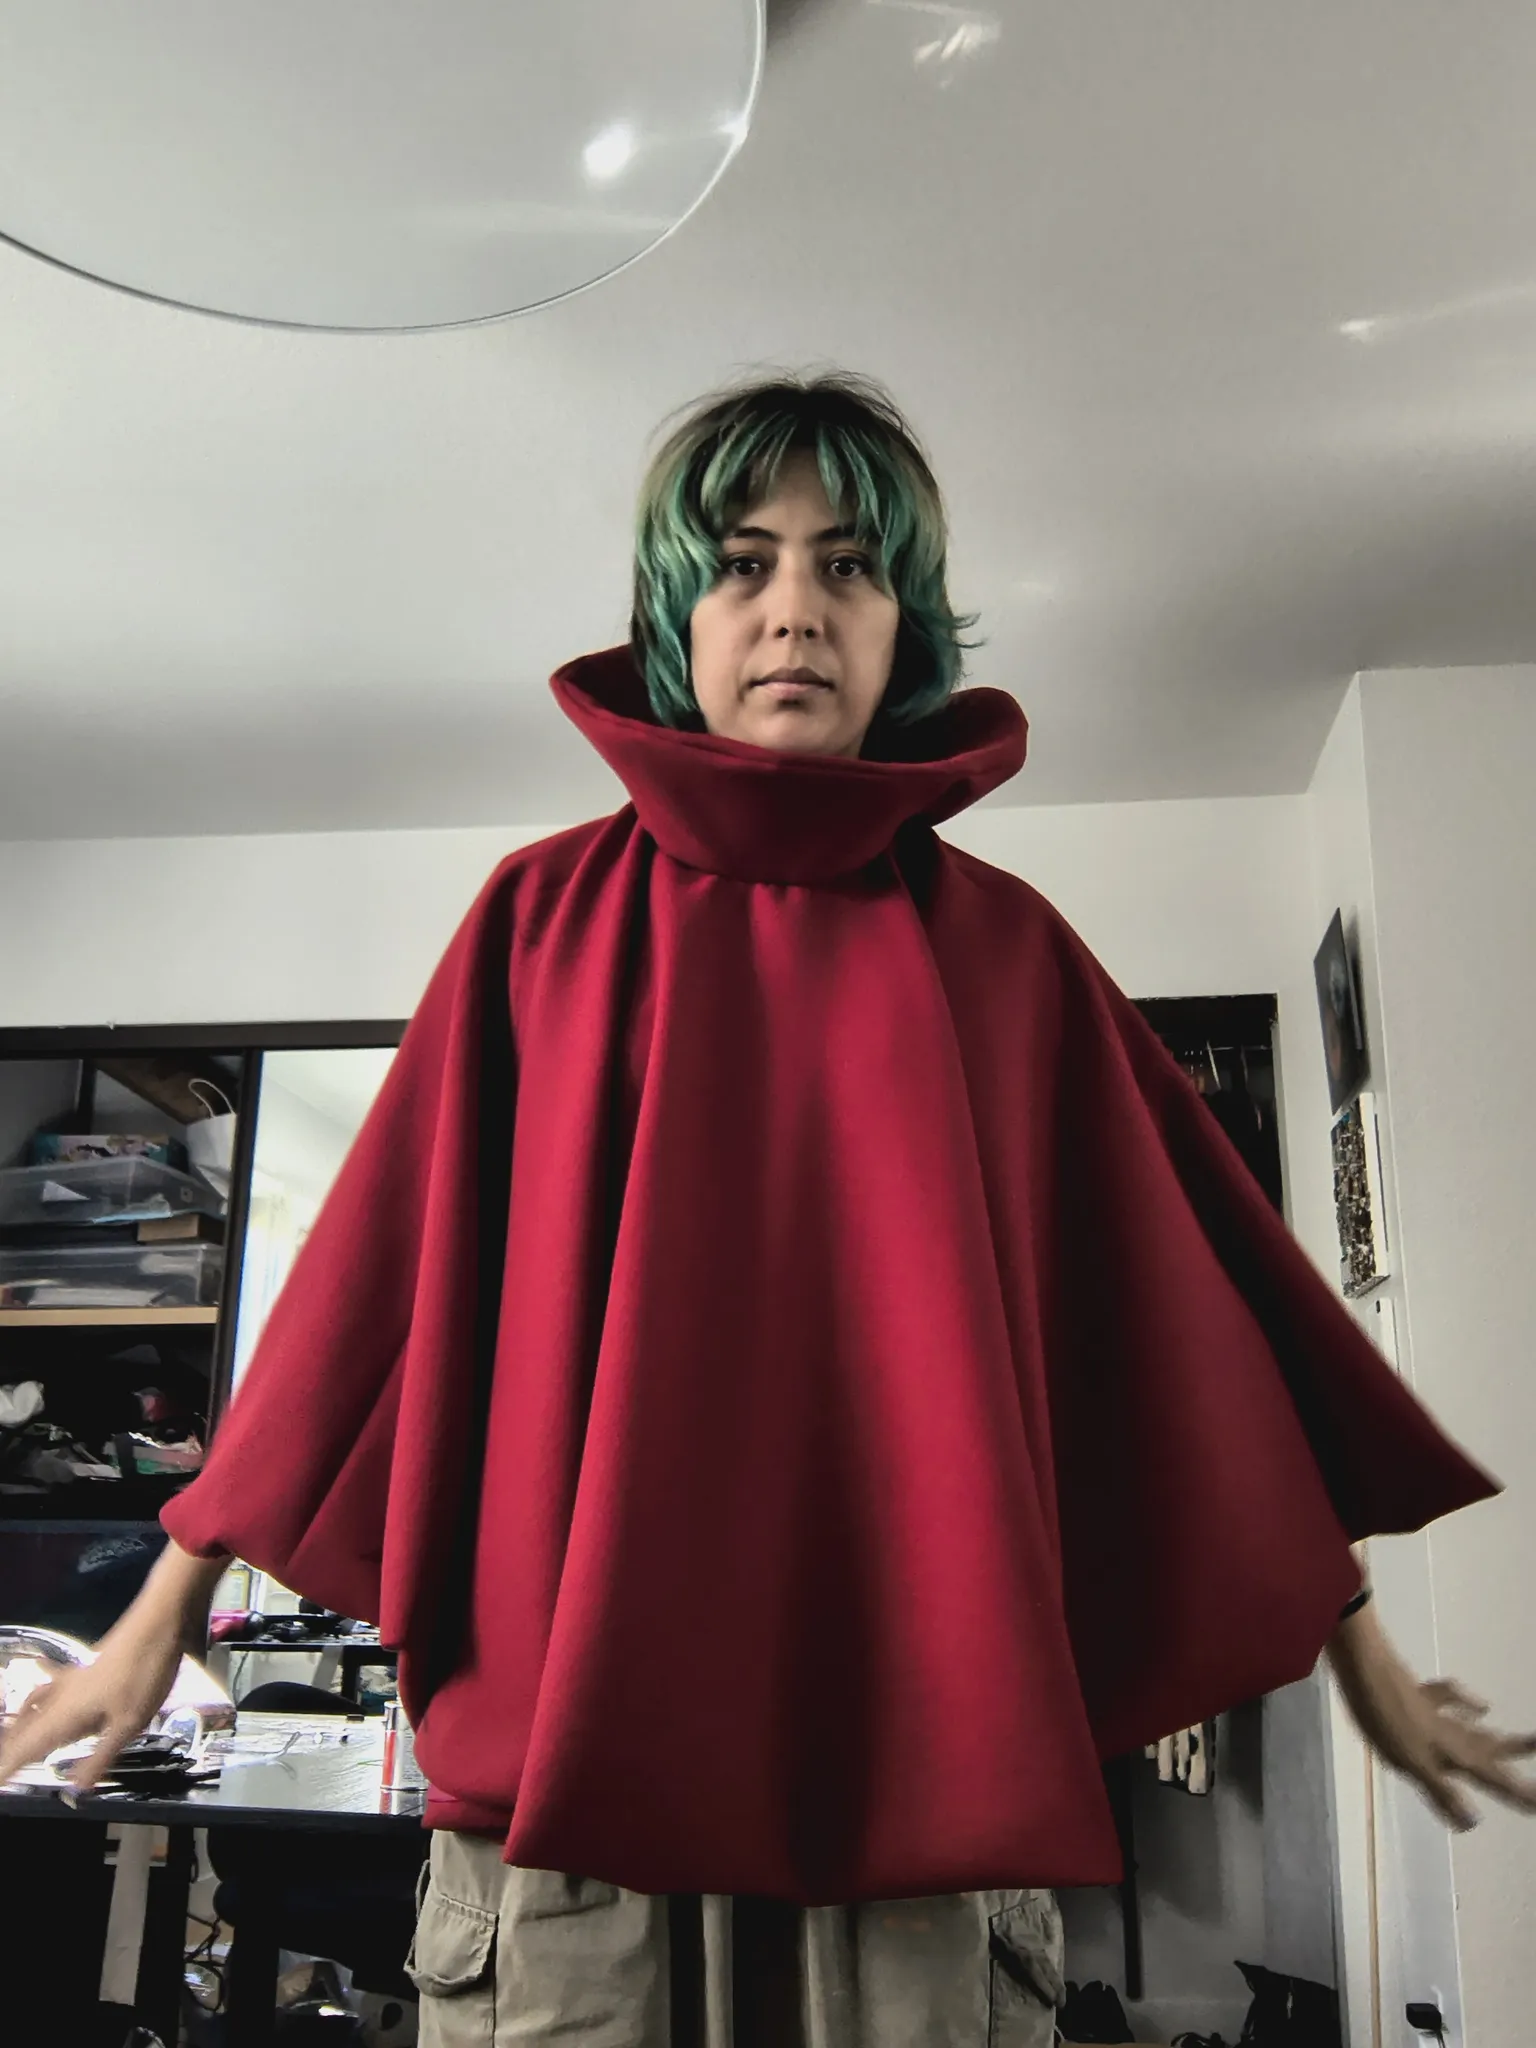 | 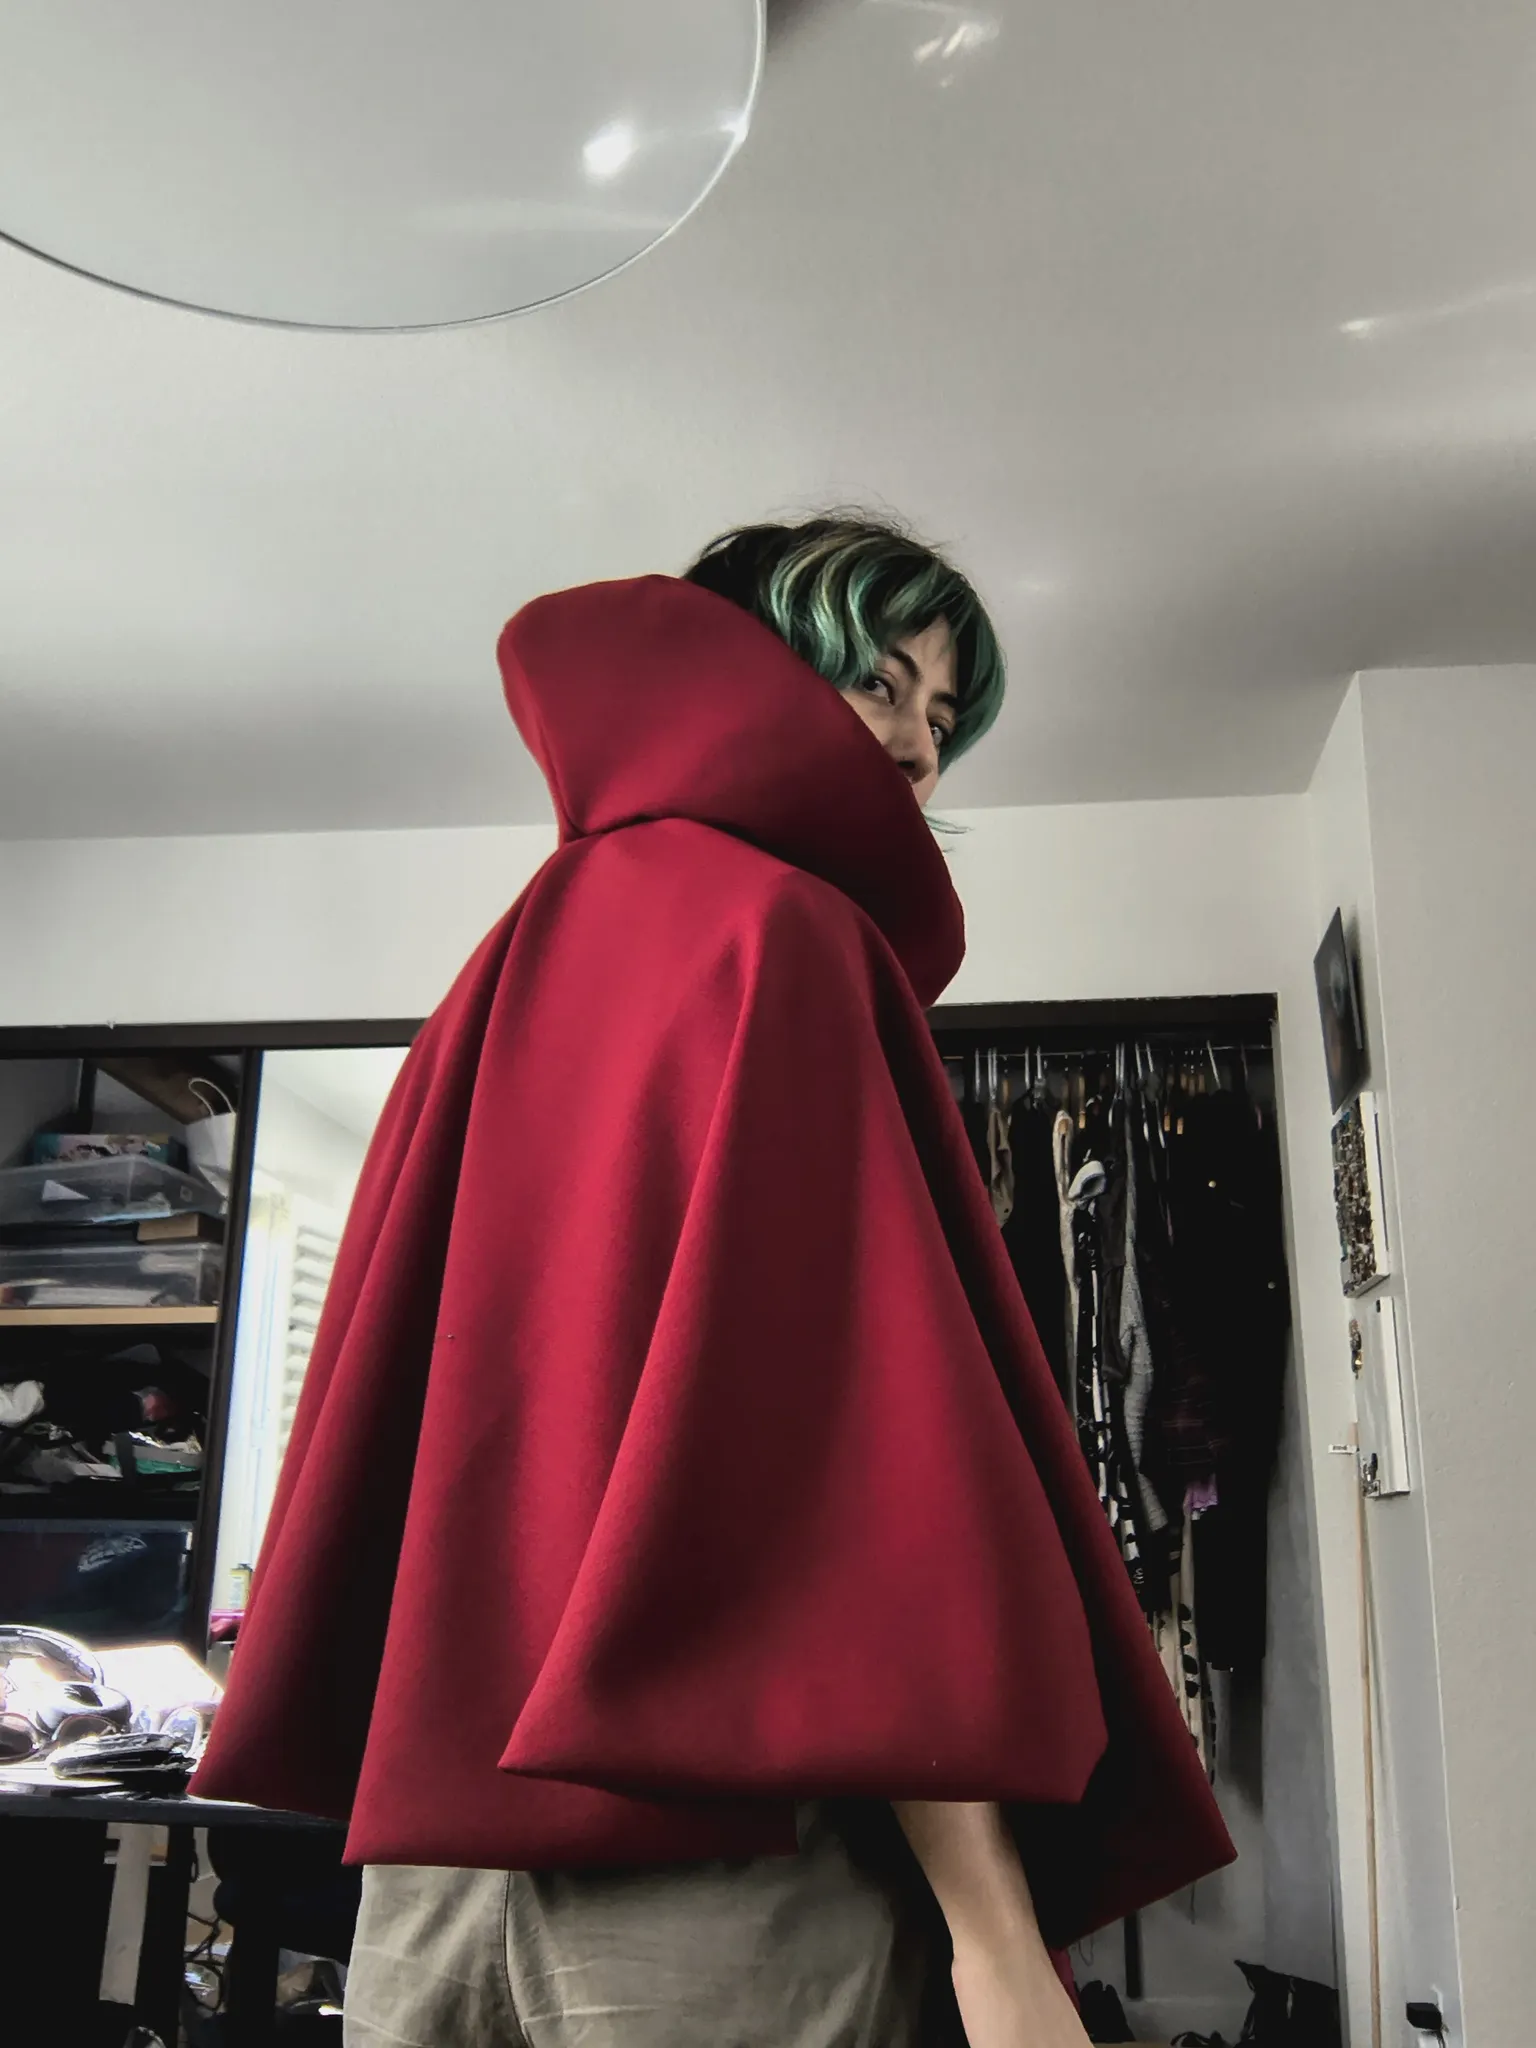 |
The collar is the one part of the cloak that can't just hang. It stands up around the face like a cone, so I gave it a layer of craft foam and interfacing on the inside to hold the shape. Fabric alone would have flopped over by the second photo.
Underneath, I bought a black body suit and wore black boots. That's the entire lower half of Hornet. She's a shadow!
The needle that wasn't
Hornet's needle is a giant sewing needle she uses as a sword, and I really wanted to make it! But the mask ate way more time than I anticipated, and by the time it was dry I was out of weekend. So no needle this time.
Final costume
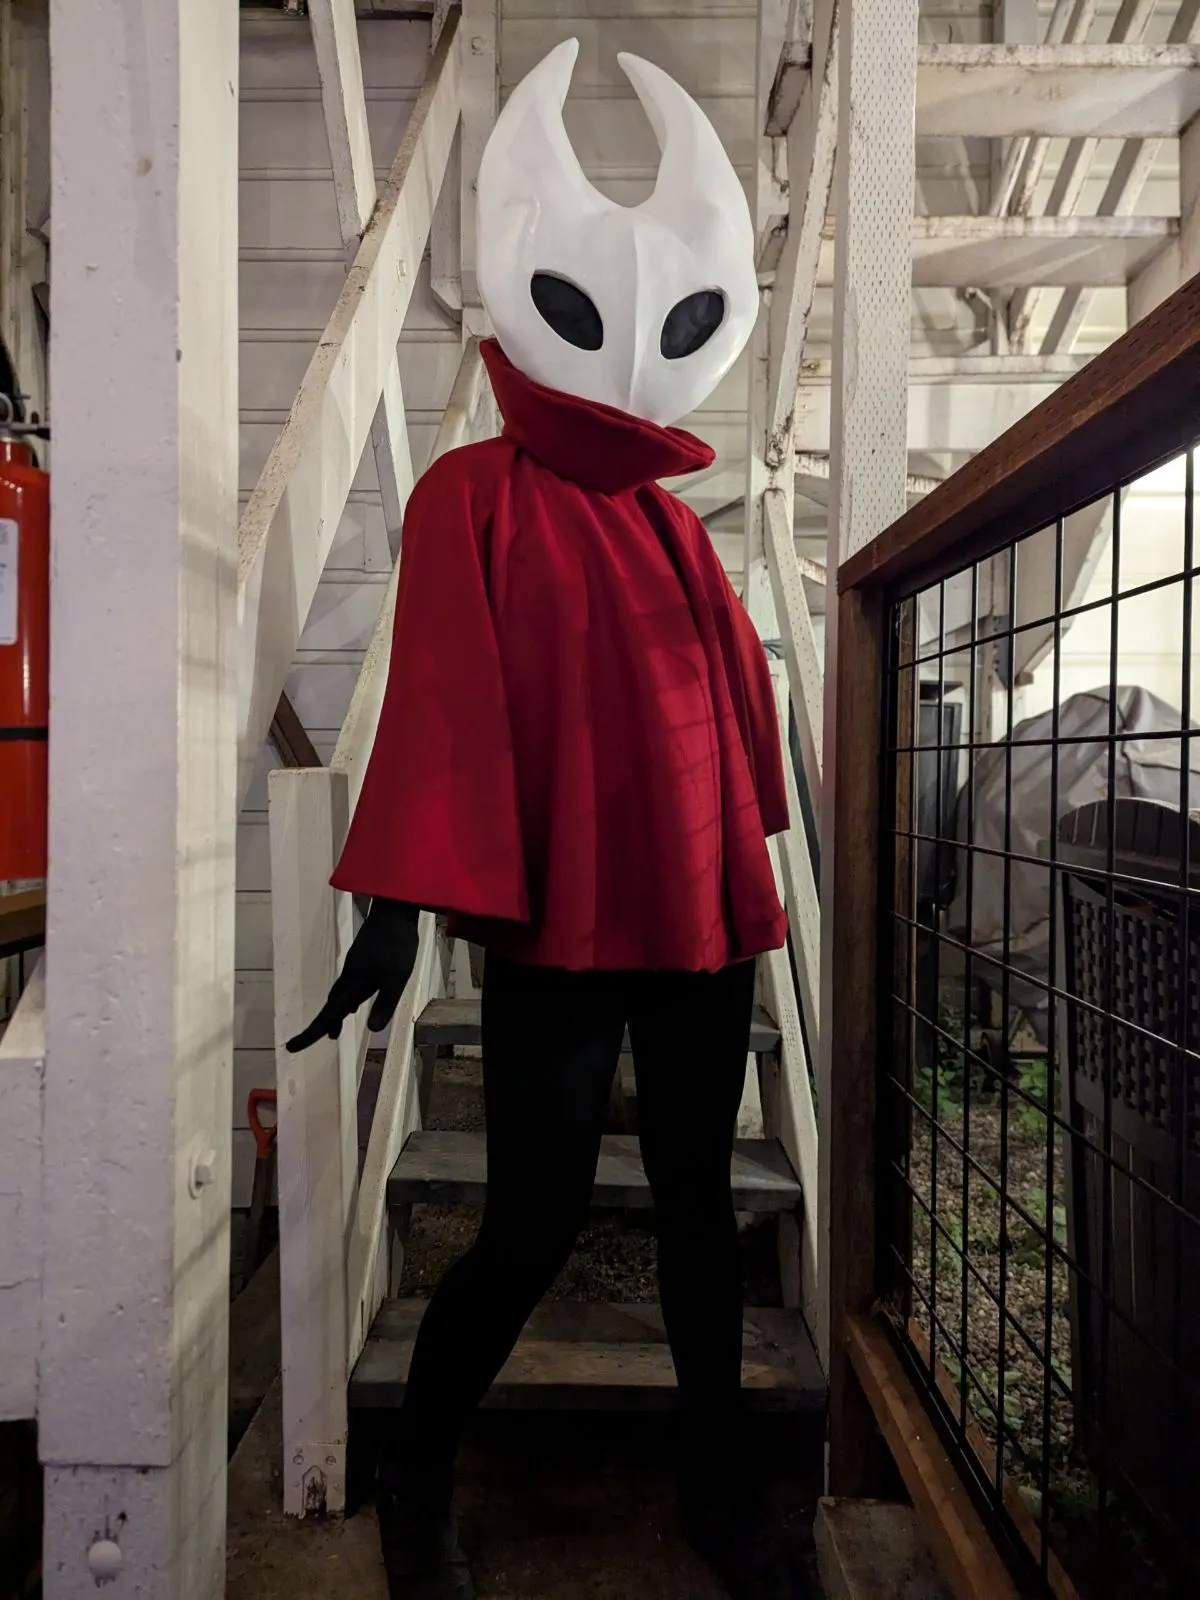
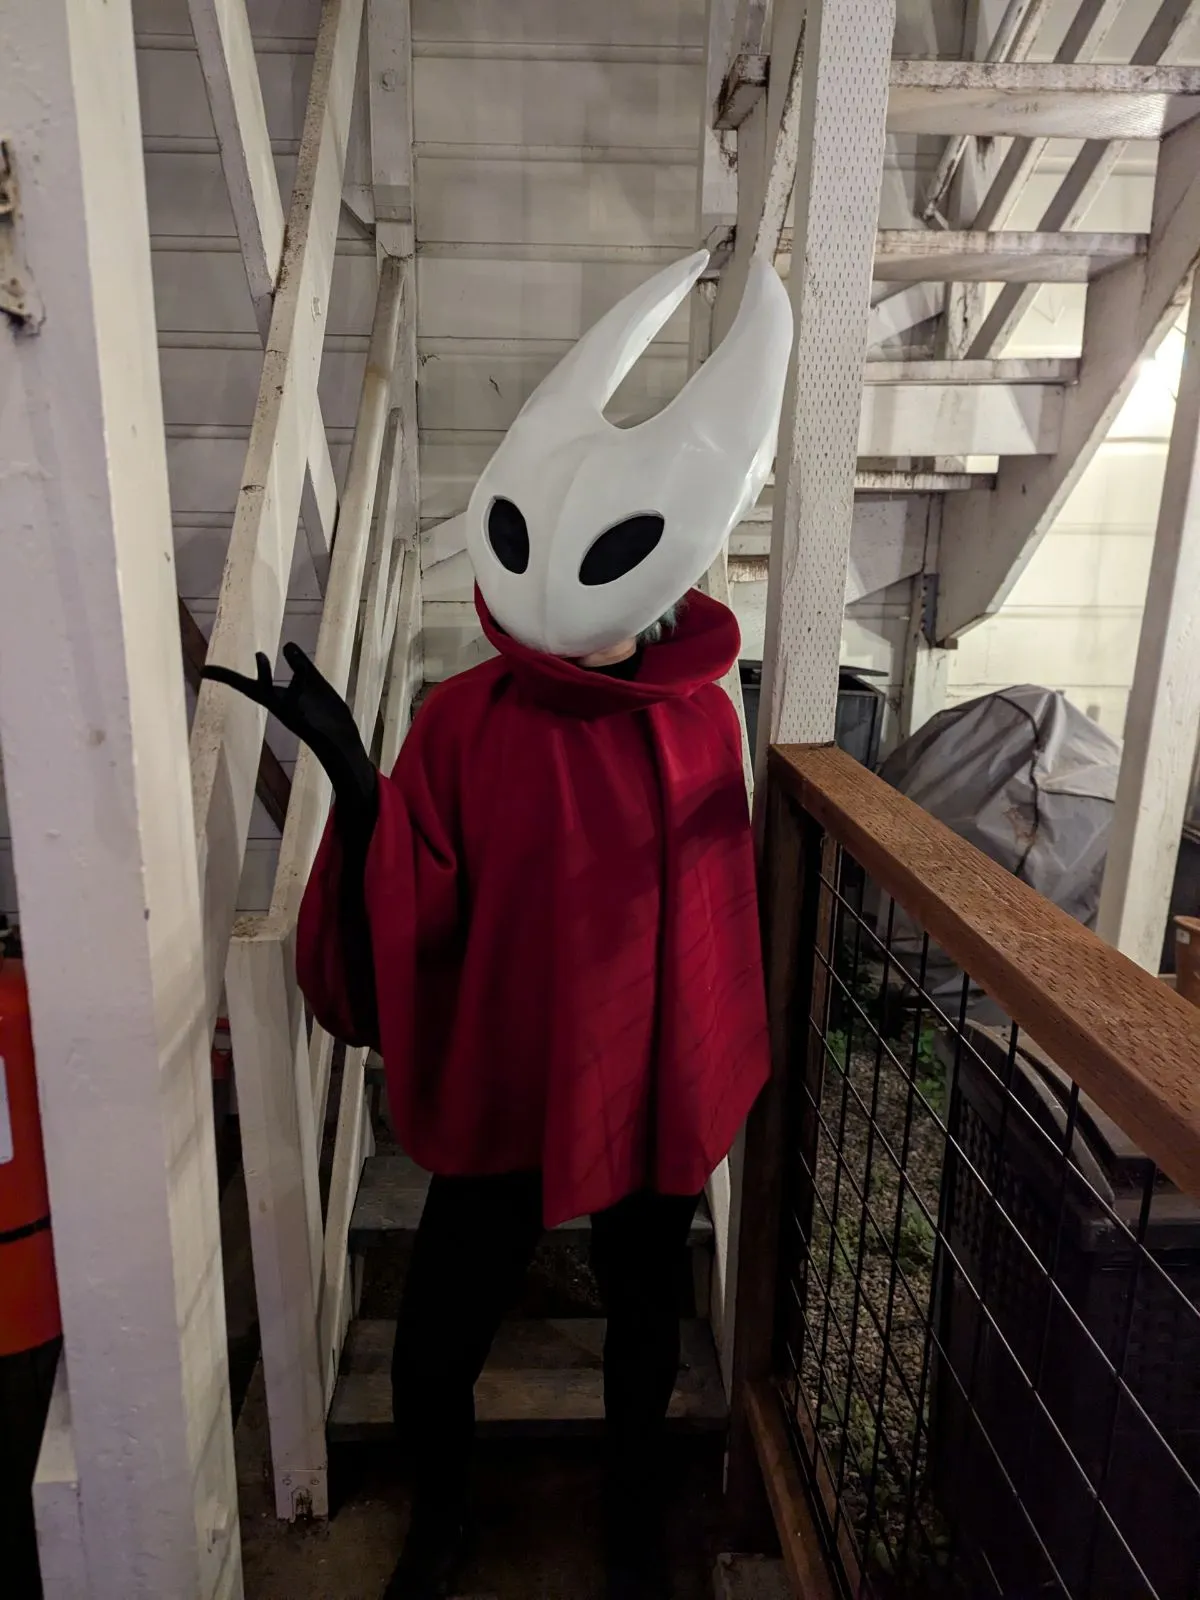
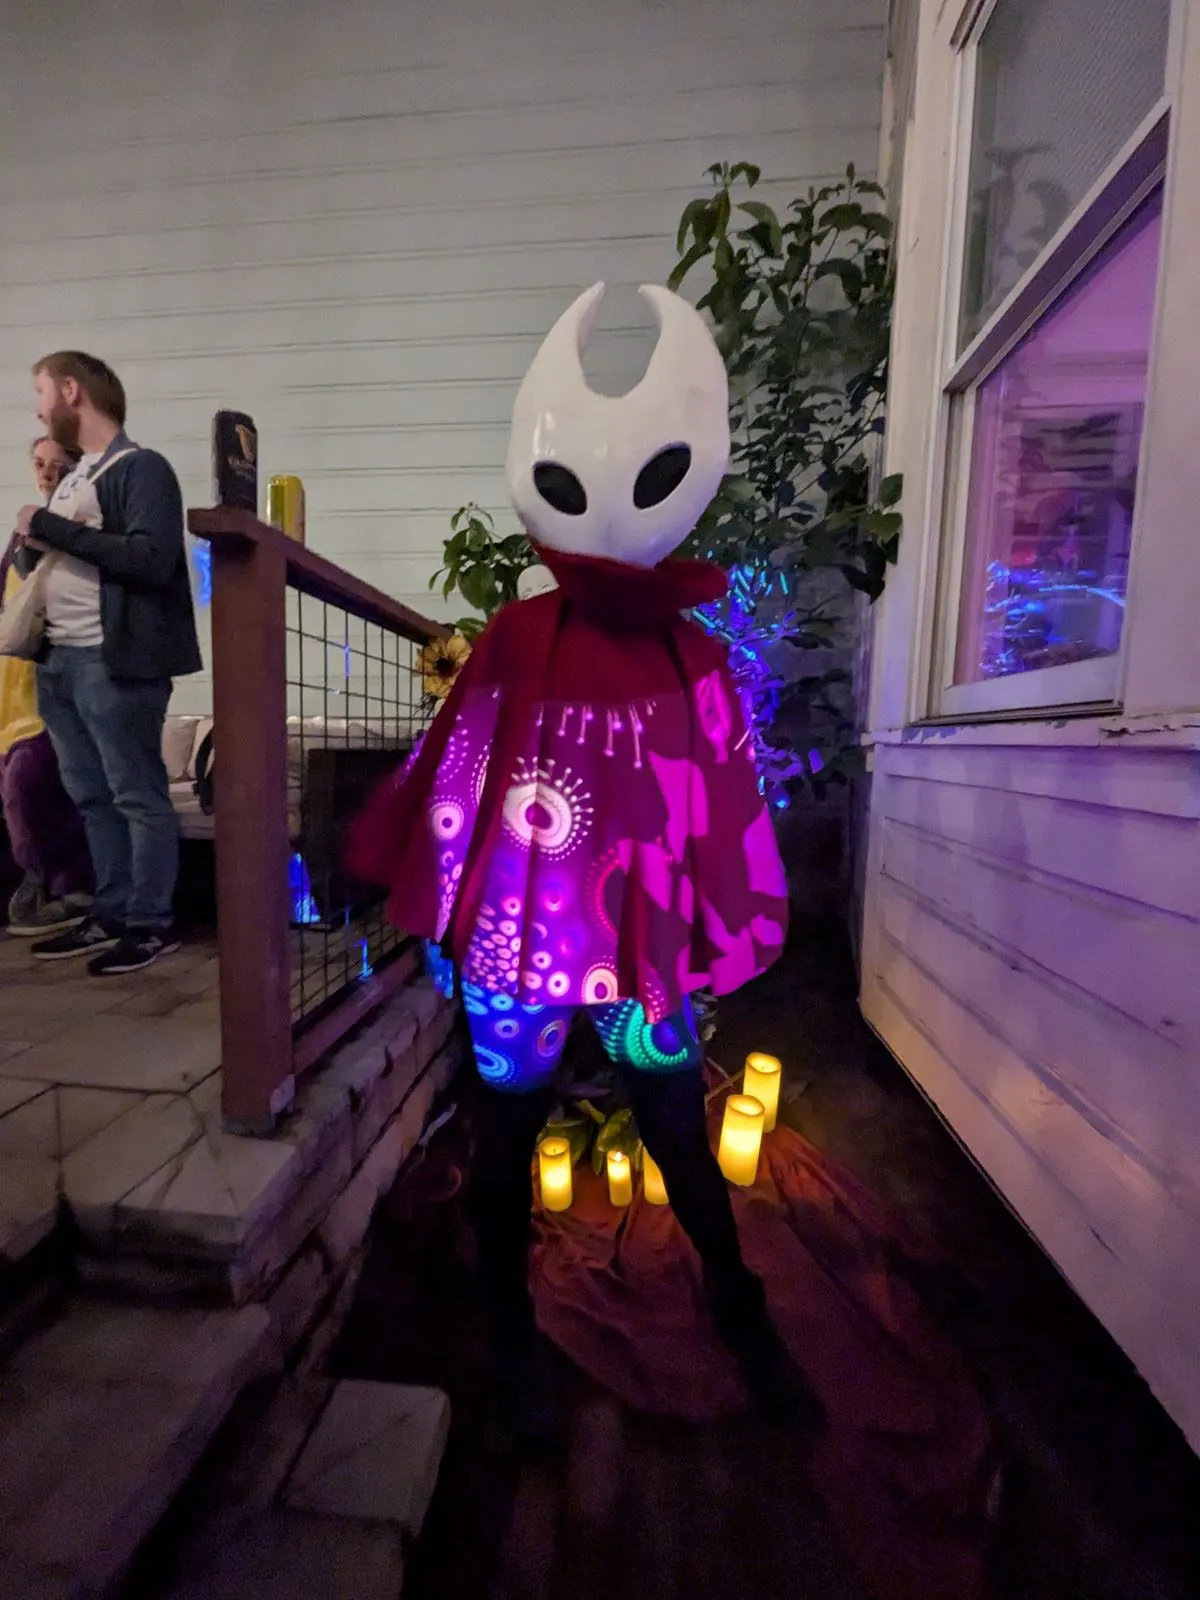
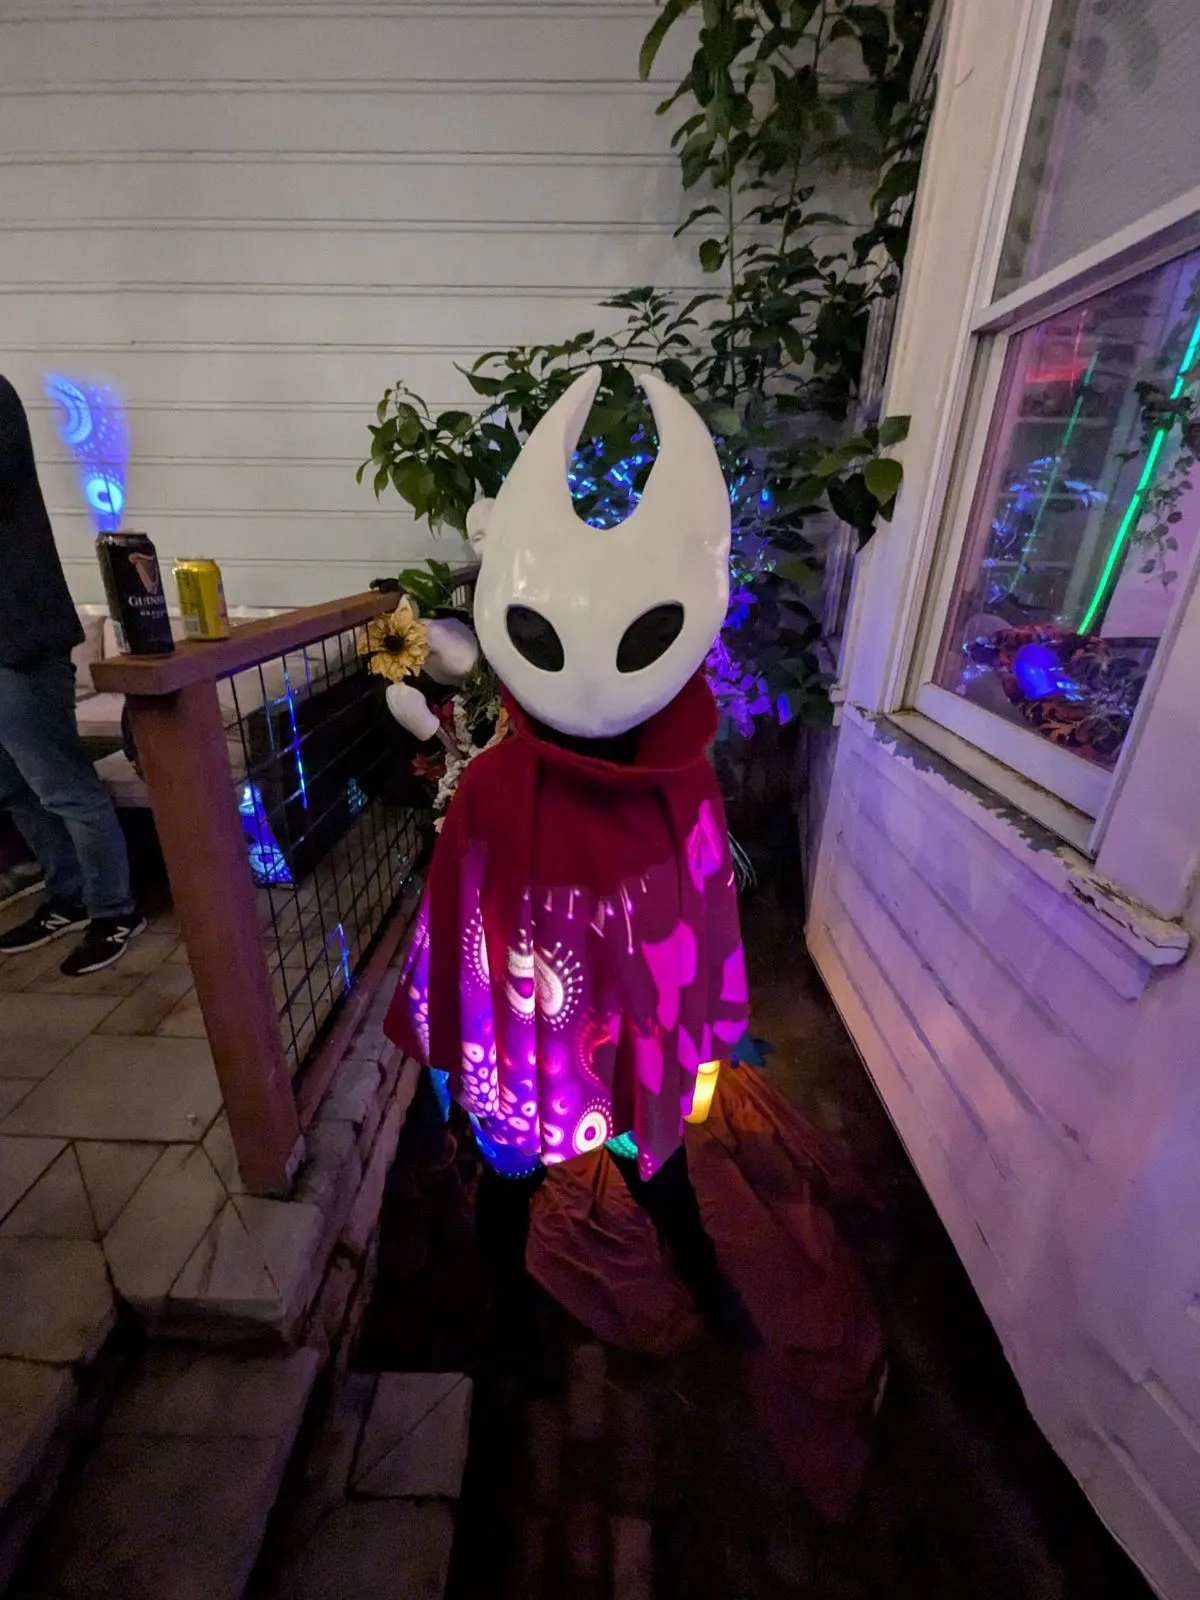
Start to finish, the whole thing only took one long weekend! Here's Hornet out in the wild on Halloween night.
 |  |